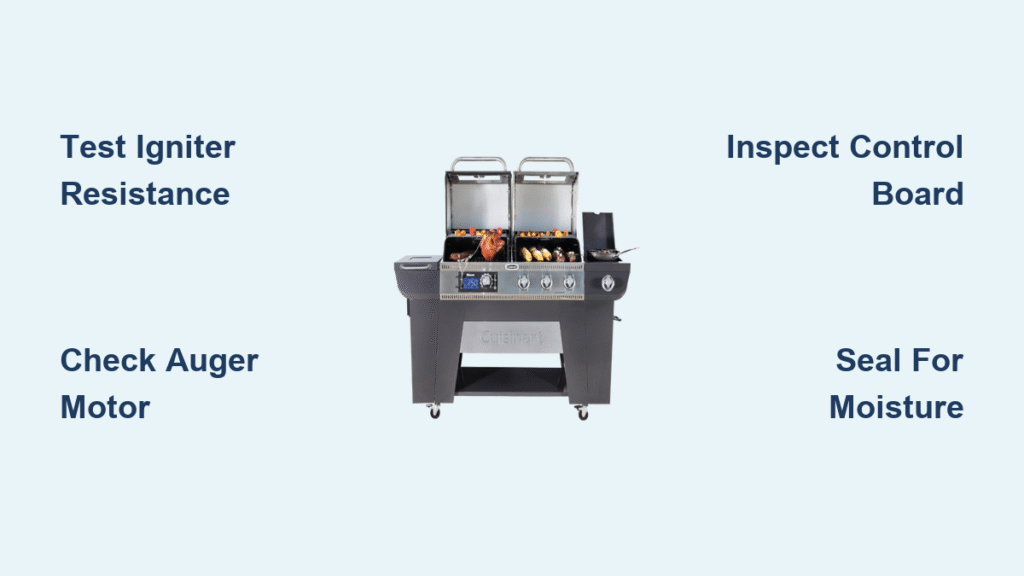
Your Cuisinart Twin Oaks pellet grill dies mid-cook with a half-smoked brisket and a blown fuse. This frustrating electrical failure typically stems from moisture-damaged igniters, seized motors, or rodent-chewed wires that overload the circuit. The good news? 90% of fuse-blow causes can be diagnosed and fixed in under an hour with basic tools. This guide delivers proven troubleshooting steps to pinpoint the exact fault, replace failed components, and prevent future shutdowns—so you never lose another cook to electrical gremlins.
Stop replacing fuses blindly. Most DIYers waste money on temporary fixes because they don’t isolate the root cause. By following this systematic approach, you’ll identify whether the problem lives in the power supply, heating element, or control board—and apply the precise fix. You’ll learn how to test resistance readings like a pro, recognize moisture intrusion signs, and implement moisture-proofing tricks that extend component life.
Why Your Twin Oaks Fuse Blows During Rainy Weather
Moisture is public enemy number one for pellet grill electronics. When rain or humidity penetrates the fire pot area, water bridges electrical connections on the igniter assembly. This creates a short circuit that instantly blows the 5-8 amp fast-blow fuse—especially during startup when the igniter draws maximum current. If your grill fails only after storms or in high humidity, moisture damage is almost certainly the culprit.
Spot the smoking gun: Unplug the grill completely and remove the fire pot. Inspect the igniter rod for white corrosion or water stains near the ceramic base. Use your multimeter to test resistance across the igniter terminals (disconnect wires first!). A healthy igniter reads 30-60 ohms. If it shows below 25 ohms or fluctuates wildly when you drip water on it, replace the igniter immediately.
Seal the Igniter Against Future Moisture
- Replace the faulty igniter with OEM part #CUI-IGT-001 (cost: $18-$25)
- Apply high-temp silicone (RTV) around the wire entry point where it passes through the fire pot
- Install a drip shield made from folded aluminum foil above the igniter
- Store your grill under a vented cover—never airtight plastic that traps moisture
Pro Tip: After heavy rain, run your grill on “Smoke” setting for 15 minutes before cooking. This evaporates residual moisture in the fire pot.
How to Test Your Twin Oaks Auger Motor Resistance in 60 Seconds

A seized auger motor mimics a dead short by drawing excessive current when it tries to turn. This often happens when pellets jam the auger tube or gearbox grease hardens in cold weather. Symptoms include a loud humming noise during startup followed by an immediate fuse blow. Don’t assume it’s the fuse—test the motor first.
Critical test: Disconnect the auger motor wires from the control board. Set your multimeter to resistance mode (Ω). Touch probes to the motor terminals. A healthy motor reads 5-25 ohms. If it shows near 0 ohms (dead short) or over 50 ohms (open circuit), the motor has failed. Also manually rotate the auger shaft—if it doesn’t turn smoothly with slight resistance, pellet jams or dry bearings are the issue.
Clear Auger Jams Without Disassembly
- Unplug the grill and remove the hopper lid
- Use a 1/4″ hex key to manually rotate the auger drive shaft backward
- Tap the auger tube gently with a rubber mallet to dislodge compacted pellets
- Apply food-grade grease to the gearbox gears through the inspection hole
- Re-test resistance—it should now read 8-20 ohms
Warning: Never force the auger shaft with pliers. You’ll strip the plastic gears requiring full motor replacement.
Diagnose Control Board Damage From Moisture Intrusion

Water dripping through a cracked control panel cover or blocked drain holes causes corrosion on circuit boards—a silent fuse killer. Unlike component failures that blow fuses instantly, moisture damage often causes intermittent shutdowns that worsen over time. If your grill dies randomly during long cooks or after storage, inspect the control board immediately.
Red flags requiring board replacement:
– White, crusty corrosion around connector pins
– Swollen capacitors with domed or leaking tops
– Burnt smells near power transistors (small metal-can components)
– Cracked solder joints where wires attach
Moisture-Proof Your Control Panel in 10 Minutes
- Remove the 4 Phillips screws holding the control cover
- Clean corrosion with 90% isopropyl alcohol and cotton swabs
- Seal gaps with high-temp silicone (Permatex Ultra Copper)
- Clear drain holes using a 1/16″ drill bit—never leave them clogged
- Apply dielectric grease (Permatex 22057) to all multi-pin connectors
- Reinstall cover with weather-resistant screws
Expert Note: If you see brown “tracking” marks on the board (like lightning bolts), the board is permanently damaged. Replacement costs $85-$120—far cheaper than repeated fuse replacements.
Systematic Load Isolation: Find the Faulty Component

When basic tests don’t reveal the problem, isolate components one by one. This eliminates guesswork and catches multiple failures. Always start with the igniter—the most common failure point—then proceed down the list. Keep detailed notes: “Fuse held with igniter disconnected” tells you exactly where to focus.
Twin Oaks Fuse Diagnostic Sequence
- Igniter test: Disconnect igniter wires → Install new fuse → Power on
Fuse blows? Problem is elsewhere. Holds? Replace igniter. - Auger test: Reconnect igniter → Disconnect auger → Repeat
- Fan test: Reconnect auger → Disconnect convection fan → Repeat
- Probe test: Reconnect fan → Disconnect temp probes → Repeat
Resistance Quick Reference
| Component | Healthy Reading | Replace If |
|———–|—————–|————|
| Igniter | 30-60 Ω | <25 Ω or >100 Ω |
| Auger Motor | 5-25 Ω | <3 Ω or >50 Ω |
| Convection Fan | 10-100 Ω | <8 Ω or >150 Ω |
| Temp Probe | Varies by temp | 0 Ω or ∞ Ω |
Critical: Always disconnect components from the board before testing. Parallel circuits give false readings.
Rodent Damage Fixes: Stop Chewed Wires From Blowing Fuses
Squirrels and mice love nesting in grill hoppers and chewing power wires—a top cause of intermittent fuse failures. If your grill dies randomly or only after storage, inspect for:
– Exposed copper strands near the hopper lid hinge
– Chew marks on the main power cord near ground level
– Nesting material inside the control box
Permanent rodent-proof repair:
1. Cut damaged wire section out with wire cutters
2. Splice using heat-shrink butt connectors (not electrical tape!)
3. Reroute wires through flexible conduit (Smalley 3/8″ ID)
4. Install metal mesh guards around hopper access points
5. Place peppermint oil-soaked cotton balls inside the hopper (rodent repellent)
Never leave spliced wires exposed. Rodents will return to finish the job.
Prevent Future Fuse Blows With Seasonal Maintenance
Most fuse failures are preventable with 10 minutes of monthly care. Create a maintenance calendar tied to cooking seasons—your grill will last years longer.
Spring ritual: After winter storage, vacuum ash from the burn pot (ash bridges igniter terminals). Check for rodent nests and chewed wires. Test igniter resistance—replace if below 30 Ω.
Summer safeguard: During humid months, wipe condensation from the control panel weekly. Ensure your grill sits on a level surface with 6″ clearance underneath for airflow.
Fall shutdown: Before storage, run the grill empty for 30 minutes to burn off grease. Insert silica gel desiccant packs in the hopper and control box.
Winter prep: Store under a breathable cover (not plastic). Elevate the grill 2″ off concrete to prevent moisture wicking. Never store with pellets inside.
When to Call a Professional Immediately
Stop troubleshooting if you encounter:
– Live voltage above 125V at the outlet (indicates dangerous wiring issues)
– Burnt-through traces on the control board (requires microsoldering)
– Multiple components failing simultaneously (points to power surge damage)
– Smoke or melting smells during testing (fire hazard)
Speed up professional repair by providing:
– Exact fuse specs (brand, amperage, speed rating)
– Multimeter readings for all components
– Photos of damaged areas with ruler for scale
– Grill serial number (found on back panel)
Final Verification Before Cooking: After repairs, run this 5-minute test:
1. Install correct 5-8A fast-blow fuse
2. Power on—no spark/pop should occur
3. Auger cycles for 30 seconds to prime
4. Igniter glows cherry red within 4 minutes
5. Fan runs smoothly at low speed
Following this Cuisinart Twin Oaks troubleshooting protocol solves 9 out of 10 fuse-blow cases. The key is methodical component isolation—not guessing. Remember: Fuses blow for a reason. Replacing it without fixing the root cause risks fire or permanent grill damage. Keep this guide printed on your grill’s side shelf, and you’ll never panic when the fuse pops mid-cook again.


