
Your kitchen sink endures daily abuse from pots, pans, utensils, and cleaning tools that inevitably leave unsightly scratches. These blemishes not only compromise your sink’s appearance but can also harbor bacteria and accelerate rust formation if left untreated. Knowing how to remove scratches from kitchen sink surfaces restores both functionality and aesthetics without costly replacement. This guide delivers precise, material-specific solutions that address everything from light surface marks to deep gouges, helping you achieve professional results with household items or targeted products. You’ll discover why stainless steel requires grain-direction polishing while porcelain needs gentle touch-ups, and learn which common kitchen ingredients work better than expensive commercial kits for specific scratch types.
Before attempting any scratch removal technique, correctly identifying your sink’s material is critical. Using stainless steel methods on porcelain could cause irreversible damage, while acrylic repair requires completely different approaches than composite sinks. The right technique depends entirely on your sink’s composition and the scratch’s depth—superficial marks often respond to simple polishing, while deeper damage may need progressive sanding or professional intervention.
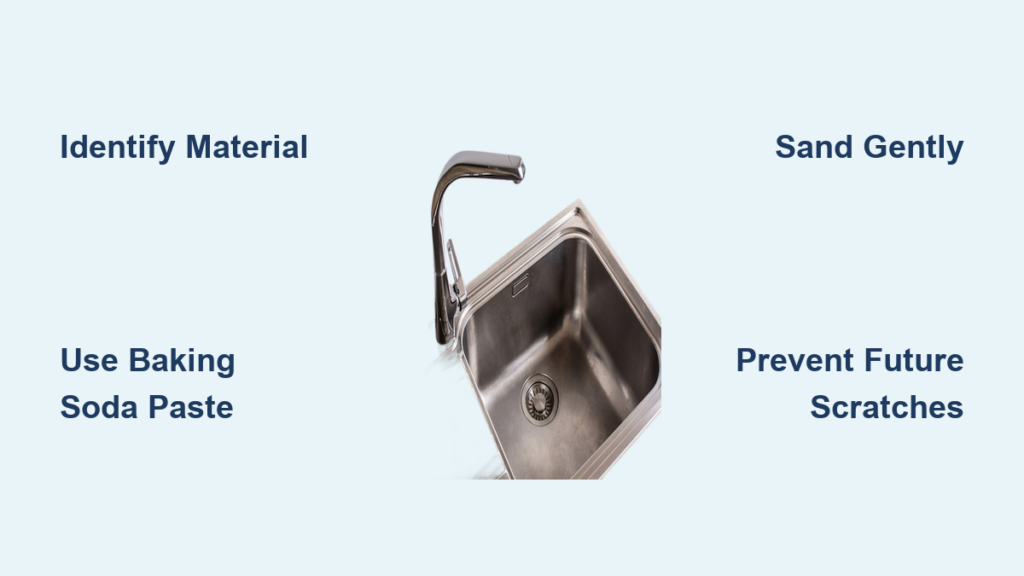
Identify Your Sink Material Before Repair
Misidentifying your sink type leads to failed repairs and potentially worsens damage. Each material has distinct characteristics that determine which scratch removal methods will work—and which could ruin your sink’s finish.
Stainless steel sinks feature a metallic appearance with visible horizontal brush marks running from back to front. They feel cold to the touch and magnets stick firmly to their surface. Scratches appear as lines that disrupt the uniform grain pattern, often catching light differently based on their orientation relative to the grain. The key to successful repair lies in working parallel to this grain direction rather than across it.
Porcelain sinks have a glossy, glass-like surface that feels smooth and hard, typically white or light-colored though darker options exist. They’re significantly heavier than other sink types due to their cast iron or steel substrate. Scratches show as visible marks where the glossy coating has been disturbed, with chips revealing darker material underneath. These require gentle treatment since the ceramic coating is relatively thin.
Composite sinks display a speckled stone-like appearance with a solid, dense feel. Made from granite or quartz particles bound in resin, they resist scratching better than most materials but can still sustain damage from sharp objects. Scratch marks appear lighter where the resin surface has been disrupted. Unlike other materials, composite sinks can often be sanded to completely remove scratches.
Acrylic sinks feel warmer than metal options and feature seamless construction with no visible joints. They’re available in solid colors and show scratches as white or hazy marks where the surface has been disrupted. Their unique advantage is complete repairability—scratches, burns, and even small holes can be sanded out and polished smooth since the material is homogeneous throughout.
Remove Scratches from Stainless Steel Sinks Effectively
Stainless steel responds exceptionally well to scratch removal when you follow the grain direction. Working against the grain creates more visible damage, while proper technique makes scratches virtually disappear.
For light surface scratches barely catching a fingernail, baking soda paste delivers professional results. Clean your sink thoroughly with dish soap, then create a thick paste with three parts baking soda to one part water. Apply with a soft cloth using long strokes parallel to the grain direction. Apply moderate pressure for two to three minutes per section before rinsing. Stubborn marks may require two or three applications with fresh paste each time.
Bar Keeper’s Friend works wonders on stainless steel because its oxalic acid breaks down oxidation while mild abrasives polish without scratching. Wet the sink surface and apply a small amount to a damp sponge. Rub gently following the grain direction, letting it sit no longer than one minute before thorough rinsing. This method effectively addresses both scratches and any rust developing in damaged areas.
White toothpaste (not gel formulas) offers another household solution for very fine scratches. Its silica abrasives are finely ground and less aggressive than baking soda. Apply directly to the scratch or onto a soft damp cloth, rubbing parallel to the grain. Limit buffing to one minute before rinsing thoroughly. This works best for superficial scuff marks rather than deeper scratches.
Fix Scratches on Porcelain Sinks Without Professional Help

Porcelain requires gentler treatment than stainless steel because its ceramic coating is relatively thin and cannot withstand aggressive sanding. Light scratches often respond well to polishing compounds, while deeper damage penetrating through the porcelain layer may need epoxy repair.
For superficial scratches, non-gel toothpaste applied with a soft cloth can reduce visibility by smoothing disturbed surface edges. Use circular motions with light pressure, adding water as needed for slipperiness. Rinse thoroughly after treatment and inspect results. This method works best on very light scratches and may require multiple applications.
Baking soda paste offers slightly more aggressive treatment for porcelain scratches that toothpaste can’t address. Apply using small circular motions (porcelain has no grain direction), maintaining consistent pressure. The mild abrasive action gradually smooths scratch edges without removing excessive material. Rinse thoroughly after buffing.
Porcelain scratch repair kits provide substantial results for moderate damage. These include fine-grit sanding discs or polishing compounds specifically formulated for ceramic surfaces. Follow instructions carefully—most require specific patterns like small circles or figure-eight motions. Apply compound in thin layers, allowing each to dry before adding more. Finish with the included high-gloss glaze to protect the area and restore water resistance.
Repair Composite and Acrylic Sinks with Sanding
Composite and acrylic sinks offer a significant advantage: they can be sanded to completely remove scratches since the material is homogeneous throughout. This repairability makes them ideal for households willing to invest in periodic maintenance.
For light composite sink scratches, baking soda paste applied with a soft cloth often suffices. Work in small circular motions and rinse thoroughly. For deeper scratches, light wet sanding with 220-grit sandpaper removes the damaged surface layer. Keep both sandpaper and sink surface wet throughout to prevent heat buildup. Progress to 400-grit for finishing, sanding lightly and checking progress frequently.
Acrylic sinks respond exceptionally well to progressive wet sanding. Start with 400-grit wet-or-dry sandpaper soaked in water. Sand the scratched area with consistent light pressure using long even strokes, keeping everything wet. Progress through 600, 800, 1200, and finally 2000-grit sandpaper, with each finer grit removing scratch marks from the previous stage. Finish by buffing with mild automotive polish to restore full gloss.
Pro Tip: When sanding acrylic, work in one consistent direction rather than circular motions for best results. Check your progress frequently by drying the area—this reveals how much scratch remains before continuing to finer grits.
Prevent Future Scratches with Simple Daily Habits
Prevention remains the most effective strategy for maintaining scratch-free sinks. Implementing these protective measures eliminates the need for repeated repair efforts.
Protective sink liners and bottom grids create essential barriers between dishes and sink surfaces. Rubber sink mats with suction cups provide cushioning while allowing drainage—they’re inexpensive, easy to clean, and removable for thorough sink cleaning. Stainless steel bottom grids sit on small feet that keep them elevated, protecting surfaces while complementing the sink’s aesthetic.
Replace abrasive scrubbers with soft sponges or microfiber cloths to prevent new scratches during cleaning. Use liquid dish soap instead of powder cleansers containing ground minerals. Allow water to soak stuck-on food before cleaning rather than scrubbing aggressively. After cleaning, wipe the sink dry with a soft cloth to prevent water spots that make surfaces appear scratched.
Avoid placing cast iron cookware directly in stainless steel sinks without protection—the rough underside leaves deep scratches. Never cut food directly in the sink; always use cutting boards. When washing sharp objects like knives, place them carefully rather than letting them slide across the sink bottom.
When to Call a Professional for Sink Scratch Repair
While most scratches respond well to DIY methods, certain situations warrant professional intervention:
- Deep scratches penetrating through multiple layers
- Extensive damage covering large sink areas
- Scratches in high-end sinks where appearance is critical
- Rust that has developed in damaged areas and spread beneath surface layers
- Multiple attempted repairs creating uneven appearance
Professional refinishing services can completely resurface worn or scratched sinks by applying new coating material. This typically costs $200-$500 depending on sink size, but extends an older sink’s life by many years. For porcelain sinks, professional chip repair uses color-matched materials producing far superior results than DIY touch-up products.
Warning: If your sink is under warranty, check terms before attempting major repairs—some manufacturers void warranties with improper DIY fixes.
Maintain Your Sink Long-Term with Material-Specific Care
Building a maintenance kit with appropriate supplies enables immediate response to new damage:
Stainless steel maintenance kit:
– Baking soda
– White vinegar
– Olive oil or commercial stainless steel polish
– Soft microfiber cloths
– Fine-grit wet-or-dry sandpaper (400, 600, 1000-grit)
Porcelain maintenance kit:
– Baking soda
– Non-abrasive cleaner
– Touch-up markers or porcelain repair compound
– Fine sandpaper
Composite/acrylic maintenance kit:
– Fine sandpaper in multiple grits (220 through 2000 for acrylic)
– Polishing compound
– Manufacturer-recommended specialty cleaners
Clean stainless steel sinks daily with mild soap, always wiping in the grain direction. Apply olive oil monthly to restore shine and provide temporary scratch protection. For porcelain, immediately clean acidic substances like lemon juice that can etch surfaces over time. Acrylic sinks benefit from regular polishing with automotive compounds to maintain their luster.
Resolve Common Scratch Removal Problems Immediately
Rust stains often accompany stainless steel scratches, making damage appear worse. Clean these with baking soda paste or commercial rust removers, rubbing gently following the grain direction. For stubborn rust, oxalic acid products like Bar Keeper’s Friend dissolve oxidation without damaging underlying steel. After removing rust, treat the area with fine sandpaper if needed, then apply protective oil.
Color matching challenges frequently arise with porcelain repairs. Apply products sparingly, building up color gradually with multiple thin layers rather than single heavy applications. Allow each layer to dry completely before assessing color. If the repair appears too light, darker products can be layered over lighter ones, but reversing this is difficult.
Uneven sanding results can be corrected by feathering lightly at boundaries between affected and unaffected areas. Work through progressively finer grits to refine the finish. For stainless steel, consistent grain direction throughout the sanded area prevents visible mismatches.
Removing scratches from kitchen sinks is achievable through methods appropriate for each material’s unique properties. Stainless steel responds well to baking soda and wet sanding, porcelain requires gentle touch-ups, while composite and acrylic sinks offer complete sandability. Prevention through protective accessories, proper cleaning techniques, and careful handling remains the most effective long-term strategy. Regular attention combined with appropriate care techniques keeps your kitchen sink looking attractive and functioning hygienically for decades, making the investment in maintenance well worth the effort.


