
Water damage from leaky kitchen pipes costs homeowners millions annually. When your sink starts dripping or your pipes show signs of corrosion, knowing how to replace kitchen pipes properly becomes essential. This guide provides the practical steps you need to safely replace common kitchen plumbing fixtures without creating bigger problems. By the end of this article, you’ll understand exactly what tools to gather, how to prepare your workspace, and the critical sequence for replacing different pipe types while avoiding common DIY pitfalls that lead to costly water damage.
Essential Tools and Materials for Kitchen Pipe Replacement

Before touching any pipes, gather these critical items to ensure your project runs smoothly. Having everything ready prevents mid-repair scrambles that often lead to mistakes when water is already turned off.
Must-Have Tools for Pipe Replacement
- Adjustable wrenches (two different sizes recommended)
- Pipe wrench for stubborn connections
- Tubing cutter for clean cuts on copper pipes
- PVC cutter or hacksaw for plastic pipes
- Plumber’s tape (Teflon tape) for threaded connections
- Bucket and towels for inevitable water spills
- Flashlight or work light for under-sink visibility
- Safety glasses to protect eyes from debris
Pipe Materials Based on Your System Type
Kitchen pipe replacement requires matching existing materials. Most homes use one of these common pipe types:
- Copper pipes: Look for reddish-brown metal pipes joined with solder
- PVC/ABS pipes: Recognizable by black (ABS) or white (PVC) plastic
- PEX piping: Flexible plastic tubing usually colored red, blue, or white
- Galvanized steel: Older homes may have silver-gray threaded pipes
Pro Tip: Take photos of your existing setup before disassembly. This visual reference prevents confusion when reassembling complex drain configurations.
Safety First: Preparing Your Workspace Properly
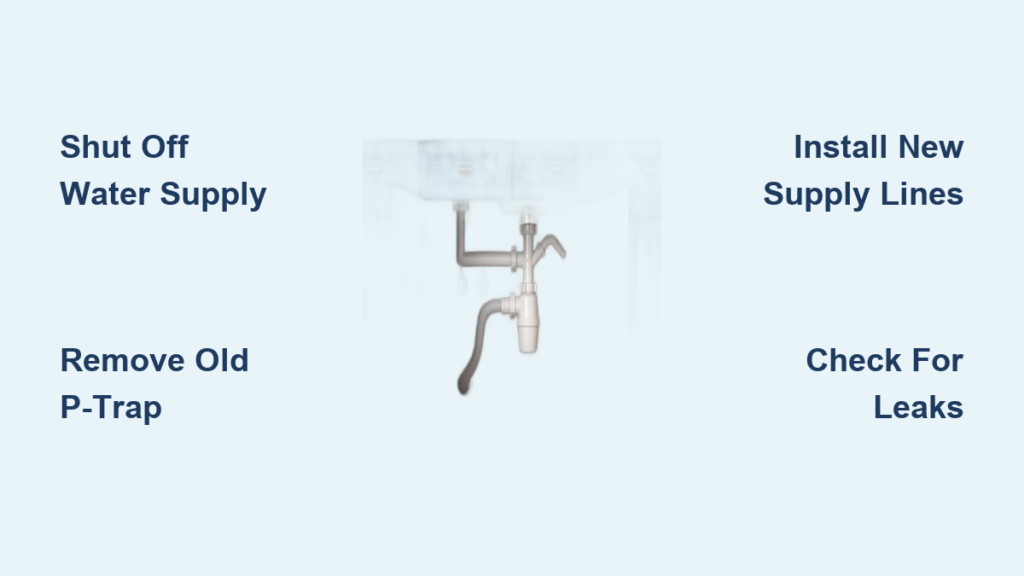
Shutting Off Water Supply Correctly
Locate both hot and cold shutoff valves under your sink—typically two small knobs near the wall. Turn them clockwise until tight. If valves leak or won’t close, you’ll need to shut off the main water supply to your home. Never skip this step; I’ve seen DIYers flood cabinets because they assumed shutoff valves worked properly.
Draining Remaining Water Safely
Place your bucket beneath the P-trap (the curved section under your sink). Loosen the slip nuts connecting the P-trap with your wrench, allowing residual water to drain. Expect 1-2 cups of water even after shutting off valves. Keep towels nearby—this step always creates some mess.
Warning: If your pipes show significant corrosion, proceed carefully. Forcing connections on old pipes often causes additional breaks requiring professional help.
Replacing Supply Lines Under Your Kitchen Sink
Removing Old Supply Lines Efficiently
Most modern sinks use flexible supply lines connecting the faucet to shutoff valves. Use two wrenches—one to hold the valve stationary, another to loosen the connection. This prevents twisting and damaging the valve. Note which line connects to hot versus cold (usually marked with red/blue indicators).
Installing New Supply Lines Properly
- Wrap 3-4 clockwise wraps of plumber’s tape on valve threads
- Hand-tighten new supply line onto valve
- Use wrench to give quarter-turn past hand tight (don’t overtighten)
- Repeat for second supply line
- Check connections before turning water back on
Common Mistake: Over-tightening connections cracks fittings. Supply lines should be snug but not forced—leaks usually indicate insufficient plumber’s tape, not inadequate tightness.
Replacing the P-Trap and Drain Pipes

Removing the Existing P-Trap Safely
The P-trap (the U-shaped pipe under your sink) collects debris and prevents sewer gases from entering your home. Loosen slip nuts at both ends, then carefully remove the entire assembly. Note the orientation—reinstalling it backward creates drainage problems. Place the old P-trap on cardboard to examine its configuration before disposal.
Measuring and Cutting New Pipes Accurately
Dry-fit all components before final assembly. For PVC pipes:
– Measure twice, cut once using pipe cutter
– Deburr cut edges with sandpaper
– Dry-fit entire assembly to verify proper alignment
– Disassemble, apply PVC cement to one side only
– Reassemble quickly (cement sets in 15-20 seconds)
Time Estimate: First-time P-trap replacement takes 20-30 minutes; experienced DIYers complete in 10-15 minutes.
Troubleshooting Common Pipe Replacement Problems
:max_bytes(150000):strip_icc()/pvc-joint-repair-2718924-color-FINAL-86df124f8a7647adb2aa514759a37d39.png)
Fixing Leaks at New Connections
If water appears at new connections after testing:
– Supply line leaks: Tighten slightly or add more plumber’s tape
– PVC leaks: Disassemble, apply more cement to dry fitting
– Compression fitting leaks: Tighten nut another quarter-turn
Critical Tip: Never use pipe dope or excessive Teflon tape on compression fittings—this creates gaps that cause leaks.
Handling Stubborn, Corroded Fittings
When old connections won’t budge:
– Apply penetrating oil and wait 15 minutes
– Use two wrenches to prevent twisting pipes
– Heat stubborn fittings with hair dryer (not torch near cabinets)
– As last resort, use a hacksaw to cut pipe close to fitting
Warning: Forcing corroded galvanized pipes often breaks adjacent sections. If more than one connection resists, consider calling a plumber.
Preventing Future Pipe Problems
Selecting Quality Replacement Parts
Invest in brass or stainless steel tailpieces instead of cheap plastic. For supply lines, choose braided stainless steel with double hex nuts—they last 3-5 times longer than basic models. Quality parts cost slightly more but prevent repeat repairs.
Regular Maintenance Checks
Schedule these simple inspections every six months:
– Check for moisture under sink (early leak indicator)
– Tighten loose slip nuts before they leak
– Clean aerator on faucet to maintain water pressure
– Run hot water through drain weekly to prevent buildup
Pro Tip: Place a moisture-absorbing packet under your sink to catch minor condensation before it causes damage.
When to Call a Professional Plumber
While many kitchen pipe replacements are DIY-friendly, certain situations require professional help:
Complex Pipe Replacement Scenarios Needing Expertise
- Main water line connections showing damage
- Pipes inside walls requiring access panels
- Sewer line connections beyond the P-trap
- Multiple leak points indicating systemic issues
- Homes with polybutylene piping (requires full system replacement)
Cost Consideration: Professional pipe replacement costs $150-$400 depending on complexity. This seems expensive until you compare it to potential water damage costing thousands.
Building Code Compliance Requirements
Most jurisdictions require permits for:
– Replacing pipes behind walls
– Changing pipe materials (e.g., galvanized to copper)
– Altering venting systems
– Modifying main drain lines
Licensed plumbers know local codes and can obtain necessary permits—DIY work that violates codes may fail inspection and require costly redoing.
Final Note: Successfully replacing kitchen pipes requires preparation, the right tools, and understanding your specific plumbing system. By following these steps methodically, you’ll avoid common DIY mistakes that lead to water damage. Remember that proper pipe replacement isn’t just about stopping current leaks—it’s about creating a durable solution that prevents future problems. For most standard under-sink repairs, a careful homeowner can complete the job in under an hour with minimal tools. However, when working with main lines or encountering multiple problem areas, don’t hesitate to call a professional plumber—your home’s integrity depends on proper plumbing function. Regular maintenance after replacement extends your pipes’ lifespan significantly, saving you from repeat repairs and potential water damage costs down the road.


