
That persistent drip from your Moen kitchen faucet has finally pushed you to replace it, but you’re wondering how to take out a Moen kitchen faucet without creating a bigger mess. Good news—you can handle this project yourself in about 45 minutes with basic tools and the right approach. Most homeowners avoid calling a plumber for faucet replacement because they fear the mounting hardware underneath the sink, especially when decades of mineral deposits have fused components together. Understanding the specific mounting system Moen uses and having the right tools makes all the difference between a smooth removal and a frustrating afternoon wrestling with seized nuts.
Before you begin, identify your exact Moen model—whether it’s a classic single-handle faucet, a modern pull-down sprayer like the Arbor or Brantford series, or an electronic touchless model. Moen’s mounting systems vary slightly across their product lines, but all follow the same fundamental removal process. Single-hole installations typically secure with a single mounting nut, while three-hole configurations use two mounting nuts with a deck plate. Pull-down models add the complexity of a counterweight system inside your cabinet, and electronic faucets introduce wiring harnesses that must be disconnected properly. This guide covers every scenario so you can confidently remove your specific Moen faucet without damaging your sink or plumbing.
Gather Essential Tools for Moen Faucet Removal
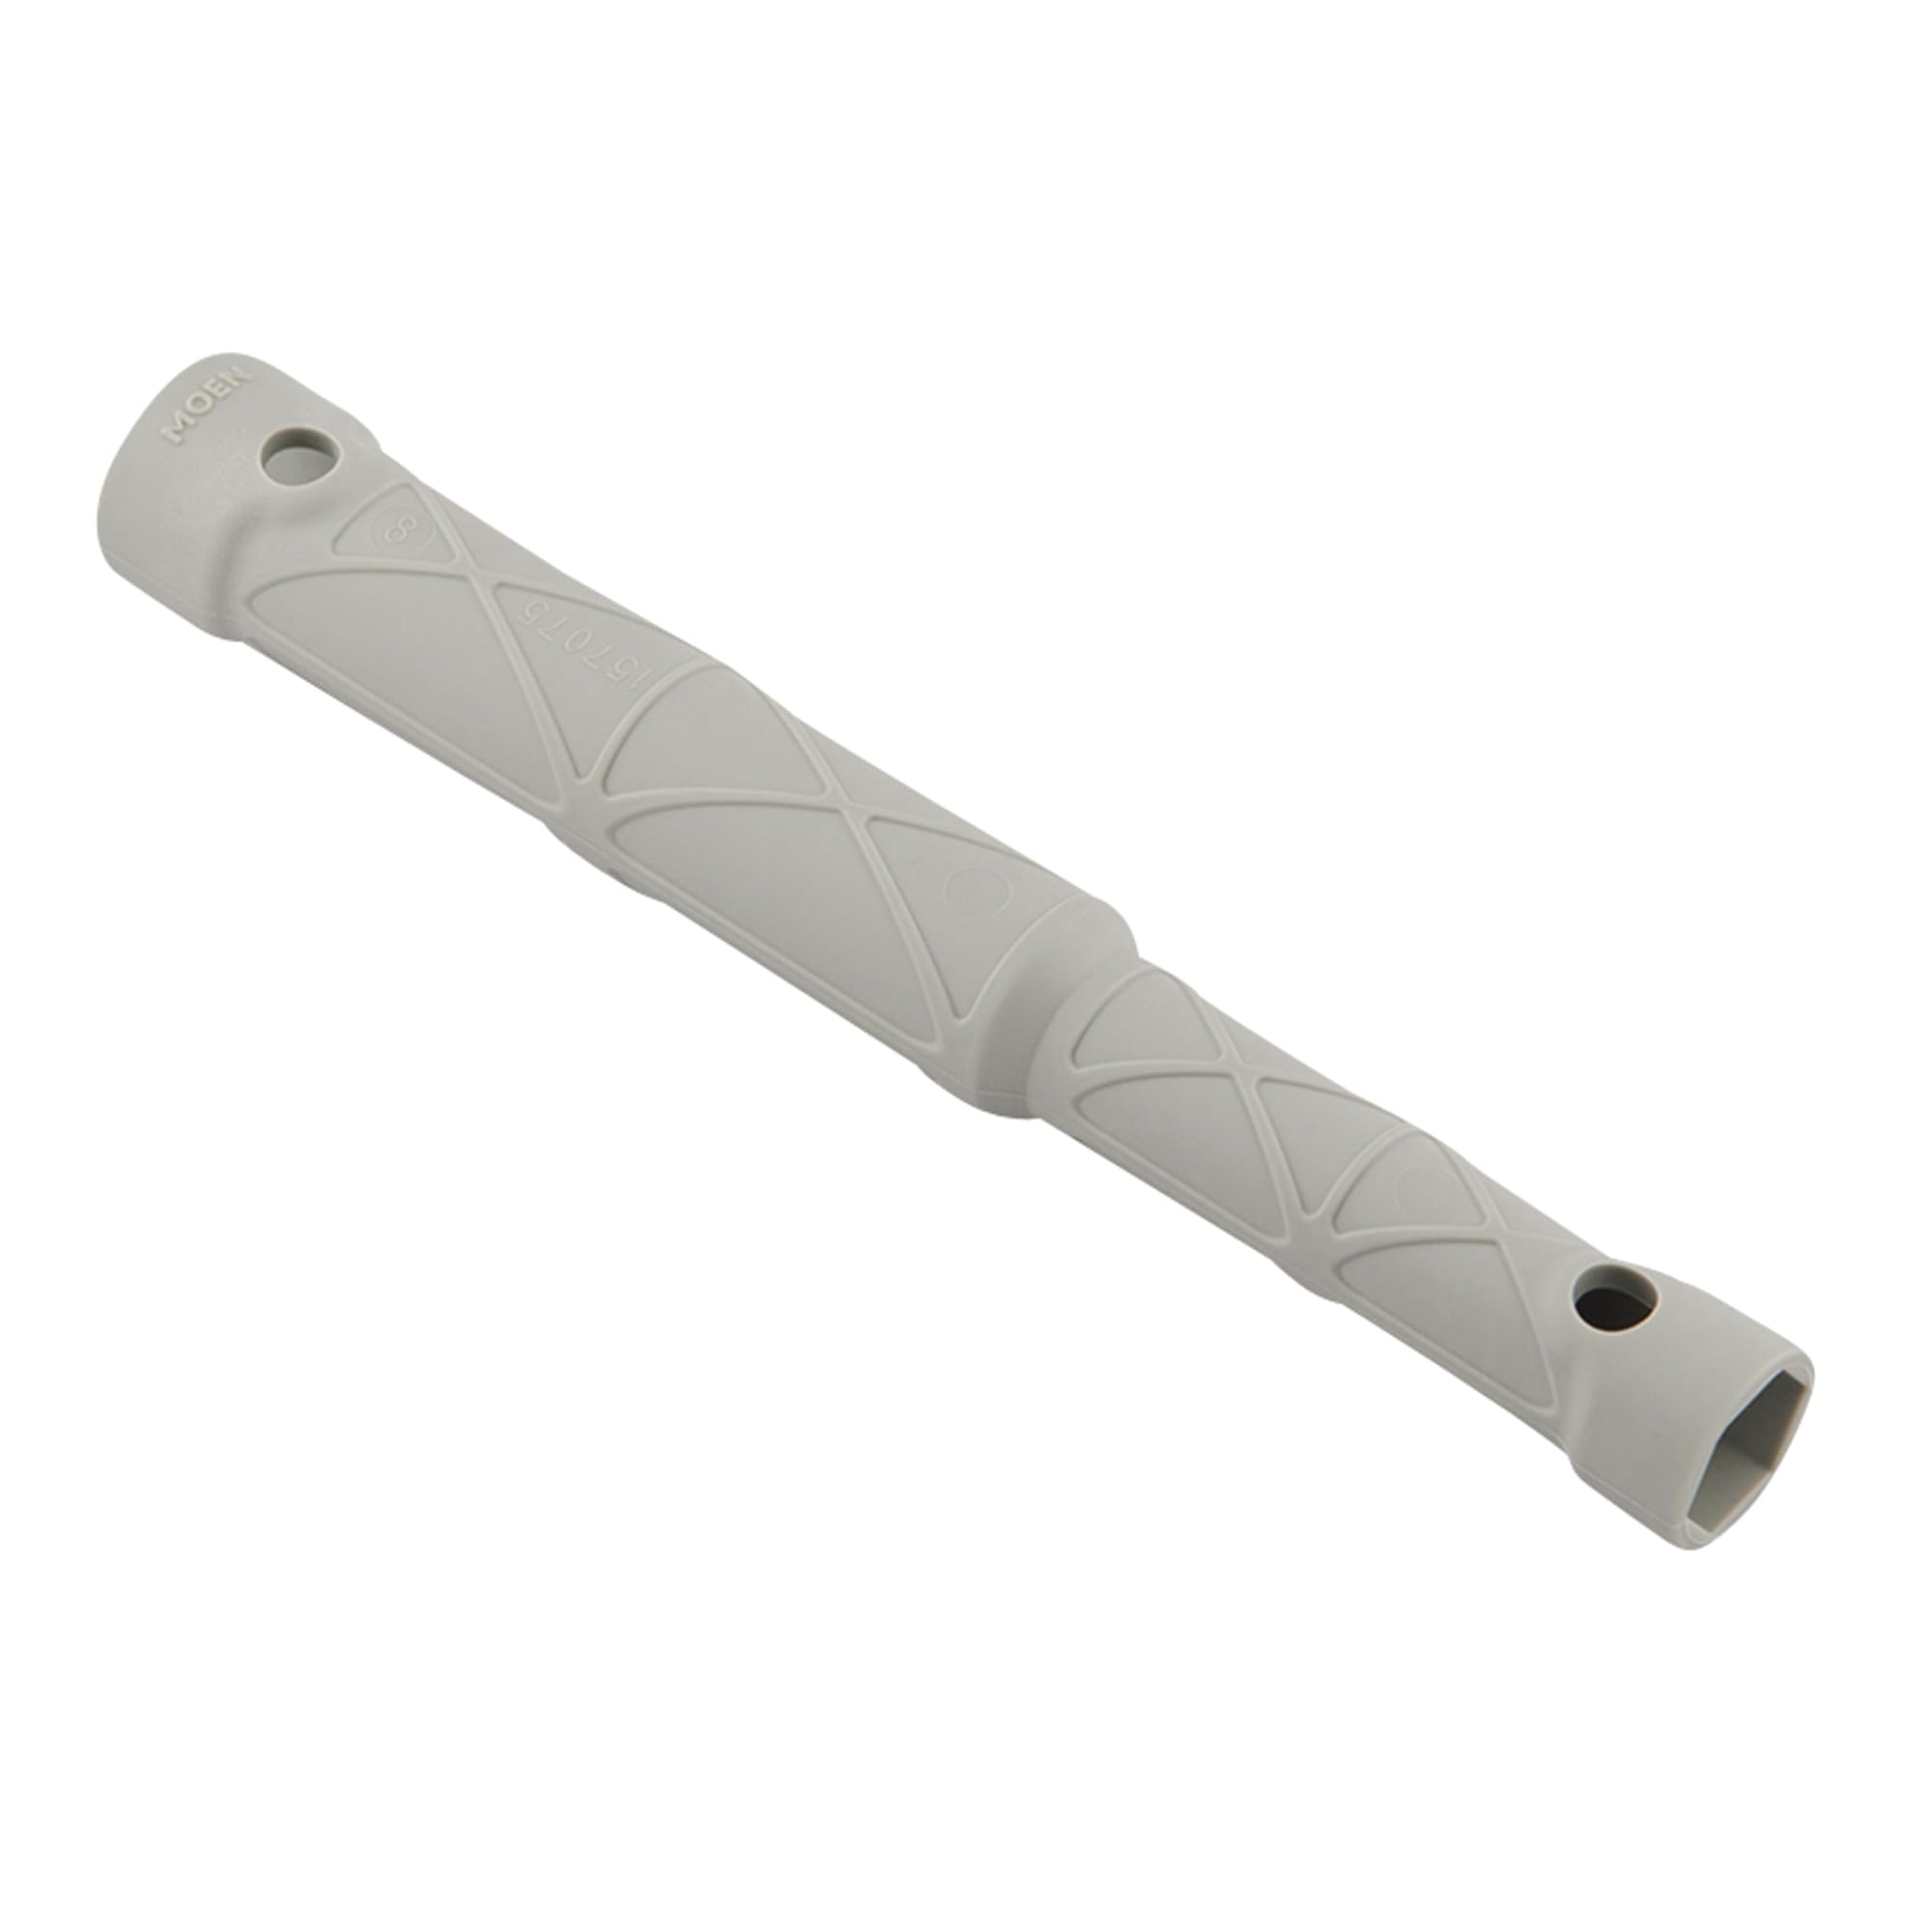
Your success hinges on having the right tools before you start—especially the often-overlooked basin wrench. Standard wrenches won’t reach the mounting hardware beneath your sink, but a quality 10-inch basin wrench with a pivoting head and extended handle gives you the leverage needed to loosen even stubborn nuts. Look for one with a ratcheting mechanism that allows continuous turning without repositioning, saving valuable time in tight spaces. Keep your adjustable wrench set handy too—both 8-inch and 12-inch models prove useful for disconnecting supply lines at different angles.
Don’t forget these critical supporting tools:
- Penetrating oil spray (like PB Blaster) for dissolving rust and mineral deposits
- LED work light or headlamp to illuminate dark cabinet spaces
- Small bucket and absorbent towels to catch residual water
- Plastic putty knife for scraping old sealant without scratching surfaces
- Needle-nose pliers for handling small components and wire connectors
For Moen electronic faucets, add a multimeter to test connections and electrical tape for safely securing disconnected wires. If you’re working with a pull-down model, have a container ready to hold the counterweight system once disconnected. Having everything organized in a tool caddy before you start prevents mid-project frustration when you discover you’re missing a critical implement.
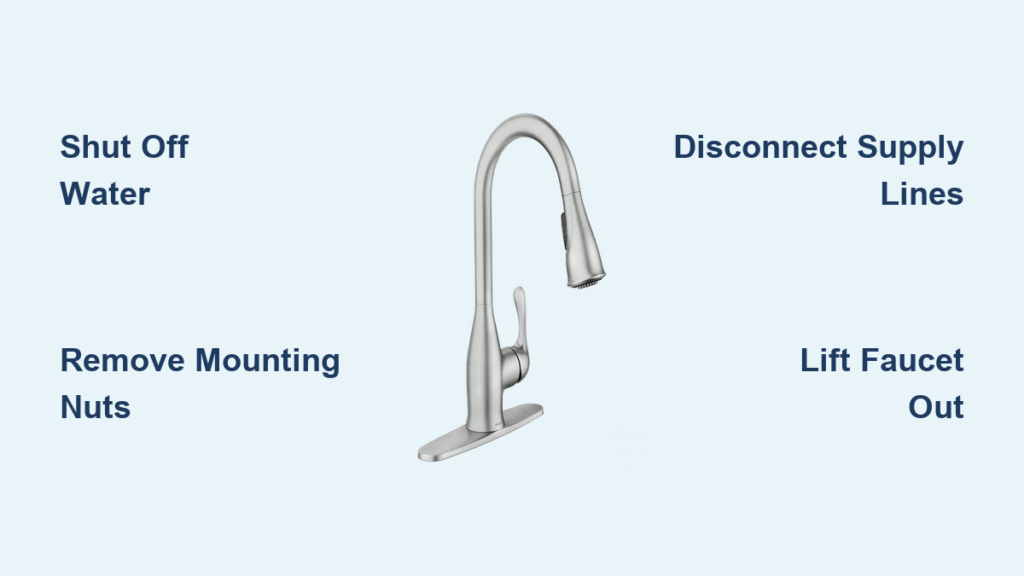
Shut Off Water Supply Correctly Before Removal
Locating and properly closing both hot and cold shut-off valves is non-negotiable—attempting faucet removal with water still connected risks significant water damage. Moen faucets connect to 3/8-inch compression valves located directly beneath your sink cabinet. Turn both valves clockwise until they stop, then open your faucet handles to release pressure and drain remaining water from the lines. Crucial tip: Place your hand over the spout while opening the faucet—this creates suction that helps drain more water from the supply lines.
If your shut-off valves haven’t been operated in years, they may resist turning or leak around the stem when closed. Apply penetrating oil to the valve stem and work the handle back and forth gently until it moves freely. Warning: Never force a stiff valve—this can break the internal mechanism, requiring immediate valve replacement before proceeding. For Moen electronic faucets, remove the battery pack first to prevent accidental activation during removal. Test both valves by briefly opening your faucet after closing them—if water still flows, you’ve either missed a valve or need to shut off your home’s main water supply.
Disconnect Water Supply Lines Safely
Moen faucets use either standard threaded connections or quick-connect fittings at both the shut-off valve and faucet inlet. Identify which type you have before applying force—pulling on a quick-connect collar incorrectly can damage the fitting. For threaded connections, grip the hex nut on the supply line with your adjustable wrench while supporting the valve body with a second wrench to prevent twisting. Turn counterclockwise to loosen, keeping your bucket positioned to catch water as the connection breaks.
Quick-connect fittings feature a colored plastic collar (usually blue for cold, red for hot) that must be depressed while pulling the line free. Pro tip: Wrap a rubber band around the collar to hold it depressed while you pull the line free with both hands. Inspect supply lines for corrosion, bulges, or cracks—replace any compromised lines with new 3/8-inch to 1/2-inch braided stainless steel hoses during installation. Label hot and cold lines with colored tape to prevent cross-connection when installing your new faucet.
Access Mounting Hardware Under Sink Efficiently

Position yourself comfortably beneath the sink—most people find lying on a padded mat provides the best access to mounting hardware. Shine your light directly on the faucet mounting area to identify components clearly. Moen faucets typically secure with two 1/2-inch mounting nuts threaded onto bolts extending down through the sink deck, though single-hole models often use a single large nut with a mounting plate.
What to look for: The mounting nuts appear as large hexagonal components directly beneath the faucet base, often with plastic retaining clips. Three-hole configurations may have additional hardware securing the deck plate. Pull-down models feature a spray hose that runs through the faucet body and connects to a counterweight inside the cabinet—locate this connection point before proceeding. Electronic models show wiring harnesses leading from the faucet base to a battery pack mounted on the cabinet wall.
Loosen Mounting Nuts Without Stripping Them
Insert your basin wrench around the mounting nut, ensuring the jaw teeth fully engage the nut edges. Extend the handle fully for maximum leverage, then apply steady counterclockwise pressure while bracing yourself against the cabinet floor. If the nut resists movement, apply penetrating oil directly to the nut and let it soak for 10 minutes before trying again. Critical technique: Tap the wrench handle gently with a rubber mallet to shock the nut loose—this often breaks the corrosion bond without excessive force.
For Moen’s mounting plate systems (common on newer models), locate the single central retaining nut rather than multiple mounting nuts. This nut typically requires counterclockwise rotation to release the entire mounting assembly. Have someone support the faucet from above while you work the nuts loose—this prevents the faucet from falling unexpectedly and damaging your sink surface when the last threads release.
Remove Faucet Safely Without Damaging Sink
With all mounting hardware loosened, carefully lift the faucet straight up through the mounting hole while guiding the mounting bolts through the sink deck. Crucial for pull-down models: Disconnect the spray hose from the counterweight system inside your cabinet before lifting the faucet completely. The counterweight usually sits in a plastic holder along the cabinet wall—simply lift it out once the hose disconnects. For electronic Moen faucets, disconnect the wiring harness by pressing the release tab on each connector before lifting.
Warning: Never force a faucet that resists removal—this usually indicates a remaining connection. Check for:
– Spray hose still attached to counterweight
– Electrical connections still engaged
– Sealant bonding the faucet base to the sink
Once free, set the faucet on a soft surface to protect its finish. You’ll notice remnants of plumber’s putty or silicone sealant around the mounting holes—this is normal and will be cleaned before installing your new faucet.
Clean Mounting Surface Thoroughly Before New Installation
Remove old sealant residue using a plastic putty knife to avoid scratching your sink surface. For silicone-based sealants, apply a specialized silicone remover and let it sit for 5 minutes before scraping. Pro technique: Wrap duct tape around a flathead screwdriver to create a non-marring scraper for stubborn residue. Clean the mounting area with isopropyl alcohol on a clean rag to remove oils and ensure proper adhesion for your new faucet’s sealant.
Inspect the mounting holes for damage—cracks, stripped threads, or corrosion that could affect new installation. If converting from a three-hole to single-hole configuration, remove the deck plate and clean any remaining holes. The surface must be completely dry and free of debris before applying new sealant for your replacement faucet.
Handle Moen-Specific Components Properly
For pull-down models like the Moen Arbor or Brantford series, note the counterweight’s exact position before removal—this ensures proper reinstallation. The weight typically slides along the spray hose inside a plastic channel. Electronic faucets require special attention: disconnect all wiring harnesses by pressing release tabs, remove batteries from the pack, and label connections with tape for easy reinstallation.
Critical step for electronic models: Wrap disconnected wires in electrical tape to prevent accidental contact during removal. Store the battery pack in a dry location—many Moen electronic components can be reused with compatible replacement models, saving you money on your upgrade.
Fix Stubborn Mounting Hardware Without Damage
When mounting nuts refuse to budge, apply penetrating oil liberally and let it soak overnight for maximum effectiveness. Use locking pliers (Vise-Grips) clamped directly onto stripped nuts for fresh gripping surfaces. Advanced technique: Heat the nut with a hairdryer for 2-3 minutes—thermal expansion often breaks the corrosion bond without damaging surrounding components.
For completely frozen supply line connections, use two wrenches simultaneously—one on the valve body and one on the supply line nut—to prevent valve damage. In extreme cases where hardware won’t loosen, carefully cut mounting bolts with a reciprocating saw fitted with a metal-cutting blade, working slowly to avoid sink damage.
Prepare for New Moen Faucet Installation Immediately
With your old faucet removed and mounting surface clean, inspect all components for reuse. Replace supply lines even if they appear undamaged—old lines often develop micro-cracks that cause leaks later. Verify shut-off valves operate smoothly and seal completely before installing your new faucet.
Pro tip: Lay out all new faucet components according to the installation manual before beginning. Apply plumber’s putty or silicone sealant as specified by your new Moen model’s instructions—using the wrong sealant can void warranties. Having everything organized ensures a smooth installation that protects your investment in the new fixture.


