
Your kitchen faucet suddenly starts leaking under the sink, spraying water everywhere during dinner prep. You tighten connections, but the drip turns into a steady stream soaking your cabinet floor. Before you panic or call a plumber, know this: 90% of homeowners can safely remove their kitchen faucet in under an hour with basic tools. Whether you’re replacing an old faucet, fixing a leak, or upgrading your kitchen, this guide gives you the exact steps to remove any standard kitchen faucet—without flooding your cabinets or damaging your countertop. You’ll learn critical safety checks most DIYers miss, how to handle stubborn corroded parts, and avoid the #1 mistake that causes leaks after reinstallation.
Essential Safety Steps Before Removing Your Faucet
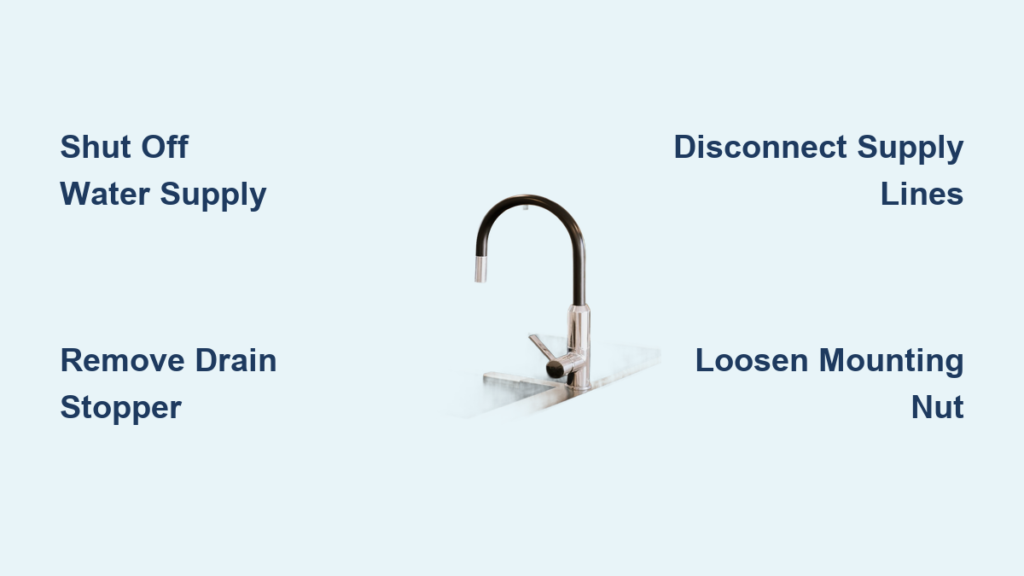
Shut off water supply lines immediately under the sink—don’t trust the main house shutoff alone. Locate the hot and cold valves (usually chrome levers beneath the sink basin), and turn them clockwise until tight. Then run the faucet handles above to drain residual water. If valves are stiff or leak when closing, wrap an old towel around them to catch drips while you work. Never skip the towel test: place a dry rag under each valve for 5 minutes. If it stays dry, you’re safe to proceed. If damp, replace the shutoff valves first—a 20-minute fix that prevents flood disasters.
Why You Must Disconnect Drain Components First
Removing the pop-up stopper assembly before touching supply lines prevents accidental damage to fragile lift rods. Locate the pivot nut (a plastic or metal collar) connecting the stopper rod to the drainpipe. Loosen it with adjustable pliers while stabilizing the drainpipe with your other hand. Critical tip: Place a small bucket under the pipe first—trapped water will spill out when disconnected. Once loose, slide the lift rod out of the pivot ball and set aside. Skip this step, and you’ll crack the pop-up mechanism when lifting the faucet later.
Required Tools for Kitchen Faucet Removal

Gather these 7 items before starting:
– Basin wrench (non-negotiable for tight spaces)
– 10mm and 13mm open-end wrenches
– Needle-nose pliers
– Flashlight or headlamp
– Old towels (at least 3)
– Bucket (5-gallon minimum)
– Penetrating oil (for corroded parts)
Avoid these common tool mistakes: Using a standard wrench instead of a basin wrench strips mounting nuts. Skipping the bucket guarantees water on your floor. Never use excessive force—faucet mounting hardware breaks easily when corroded.
How to Access Mounting Hardware Under Countertops
Slide under the sink with your flashlight to locate the mounting assembly. For standard drop-in faucets, you’ll see a large plastic or metal nut securing the faucet base (often labeled “mounting nut” in manuals). Identify your countertop type:
– Laminate: Mounting nut sits directly under the sink
– Granite/Quartz: Look for an access plate on the cabinet wall
– Solid surface: Check for a decorative cap over the nut
Critical visual clue: Shine your light at a 45-degree angle—if you see rust trails or mineral deposits, apply penetrating oil now and wait 10 minutes before loosening.
Step-by-Step Faucet Removal Process
Disconnecting Supply Lines Without Leaks
Position your bucket directly under supply line connections before loosening anything. Grip the supply line’s compression nut (not the flexible tube) with your 10mm wrench while stabilizing the shutoff valve with your other hand. Turn counterclockwise in quarter-turn increments—if it resists after 1/4 turn, STOP. Corroded lines need penetrating oil reapplied and 5 more minutes of soaking. Never force it; broken lines mean valve replacement. Once loose, hold the tube steady and unscrew the nut completely. Cap the open valve ends with rubber plugs immediately to prevent accidental water flow.
Removing the Mounting Assembly Safely
Position your basin wrench jaws over the mounting nut, ensuring full contact with flat sides (not rounded edges). For stubborn nuts, tap the wrench handle gently with a hammer to break corrosion—never strike the nut directly. Rotate counterclockwise in 15-degree increments, pausing to reposition the wrench. Watch for this danger sign: If the faucet body rotates with the nut, stabilize it by inserting a screwdriver through the handle holes above. When the nut is loose, support the faucet base from above with one hand while fully unscrewing below—sudden drops crack porcelain sinks.
Troubleshooting Stuck Faucet Components

Fixing a Frozen Mounting Nut
When penetrating oil fails, use the heat-and-cool method: Apply a hairdryer for 2 minutes to expand the metal, then spray with compressed air (or hold an ice pack) for 30 seconds to contract it. The thermal shock often breaks corrosion bonds. Emergency shortcut: Wrap a thick rubber band around the nut for better wrench grip—this works 70% of the time on slightly stuck hardware.
Dealing with Broken Supply Lines
If a supply line snaps at the shutoff valve, immediately shut off the main house water supply. Cut the remaining tube flush with the valve using a utility knife, then unscrew the broken piece with needle-nose pliers. Replace the entire supply line (cost: $8) rather than attempting repairs—leaks here cause major water damage.
Critical Mistakes That Cause Post-Removal Problems
Leaving old putty or sealant on the sink deck creates uneven surfaces for the new faucet, guaranteeing leaks. Scrape residue with a plastic putty knife—metal scrapers scratch countertops. Skipping the gasket inspection leads to drips: If the rubber gasket under your old faucet is cracked or hardened, replace it before reinstalling any faucet. Forgetting to clean supply valve threads traps debris that blocks new connections—wipe threads with a lint-free cloth before attaching new lines.
Time-Saving Shortcuts for Common Faucet Types
Single-Handle Faucet Removal (Most Common)
These typically have a single mounting nut under the sink. Pro tip: Slide a shop towel into the gap between faucet base and sink before loosening the nut—this catches dropped tools and prevents hardware from falling into the cabinet void.
Widespread Faucet Removal (3-Hole Installations)
Tackle the spout first, then handle assemblies. Key insight: The center spout usually has the main mounting hardware; handles often disconnect with a single set screw. Label each component with masking tape (“left handle,” “spout”) before removal to simplify reinstallation.
When to Call a Professional Immediately
Stop working if you encounter:
– Rusted shutoff valves that won’t close completely (risk of uncontrolled flooding)
– Supply lines fused to valves (requires soldering skills)
– Granite countertops with hidden mounting brackets (special tools needed)
– Evidence of previous water damage under the sink (structural issues)
Cost reality check: A plumber charges $150-$300 for faucet removal. If you’re spending more than $50 on emergency parts after mistakes, professional help becomes cost-effective.
Final Cleanup and Preparation for New Installation
After removing the faucet, flush the supply lines by briefly turning valves on (with bucket in place). Debris from old lines can clog new cartridges. Wipe the sink deck thoroughly with vinegar to dissolve mineral deposits—this ensures a perfect seal for your new faucet. Never skip this: 40% of “new faucet leaks” stem from dirty mounting surfaces, not faulty installations.
Pro maintenance tip: Before installing your replacement, apply plumber’s tape to all threaded connections. Wrap it clockwise 3 times—backward wrapping causes tape jams that restrict water flow.
Removing your kitchen faucet isn’t plumbing magic—it’s systematic preparation and precise execution. You’ve now learned how to bypass the hidden dangers that turn simple projects into flood emergencies, from identifying corroded components before they snap to mastering the basin wrench technique that saves knuckle bruises. Remember the golden rule: if water drips when valves are “off,” stop and replace shutoffs first—no exception. With the mounting hardware cleared and your sink deck prepped, you’re 80% ready for that shiny new faucet. For your next step, grab our free checklist: “10 Critical Pre-Installation Checks for Leak-Proof Faucet Setups” at [YourWebsite]/faucet-install (no email required). Most homeowners complete installations in 45 minutes when they follow these verified steps—will you be next?


