
Your kitchen faucet has seen better days—maybe it’s dripping constantly, wobbling when you turn it on, or simply doesn’t match your updated kitchen aesthetic. Before you call a plumber and spend hundreds on a professional installation, consider that installing a kitchen faucet without a deck plate is a manageable DIY project with the right approach. Unlike traditional installations requiring cover plates to hide unused mounting holes, modern single-hole faucets and properly configured three-hole setups allow for clean, streamlined installations directly through your sink or countertop. This guide delivers the precise steps you need to complete the job correctly on your first attempt, saving you time, money, and the frustration of dealing with hidden leaks that cause expensive water damage over time.
Most homeowners waste hours searching for fragmented information across multiple websites, only to discover too late they’ve missed a critical step like properly sealing threaded connections or aligning the faucet base correctly. By following this comprehensive walkthrough, you’ll gain the confidence to tackle this project successfully, whether you’re replacing an outdated fixture or upgrading to a sleek new design. You’ll learn exactly how to identify your sink’s hole configuration, prepare the mounting surface properly, and execute each installation phase with professional results—without spending a dime on unnecessary deck plates that complicate the installation process.
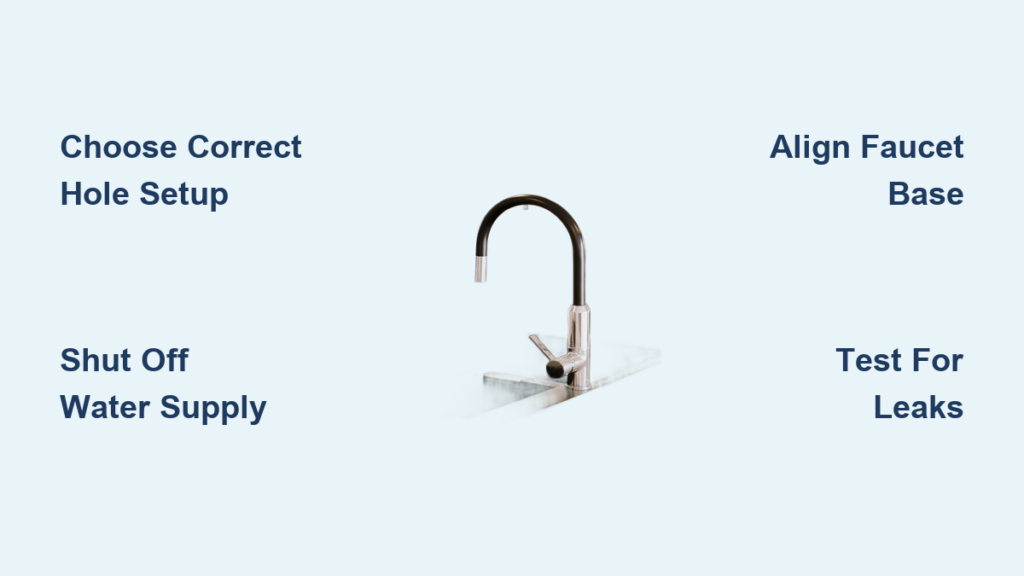
Choose Your Faucet Based on Sink Hole Configuration
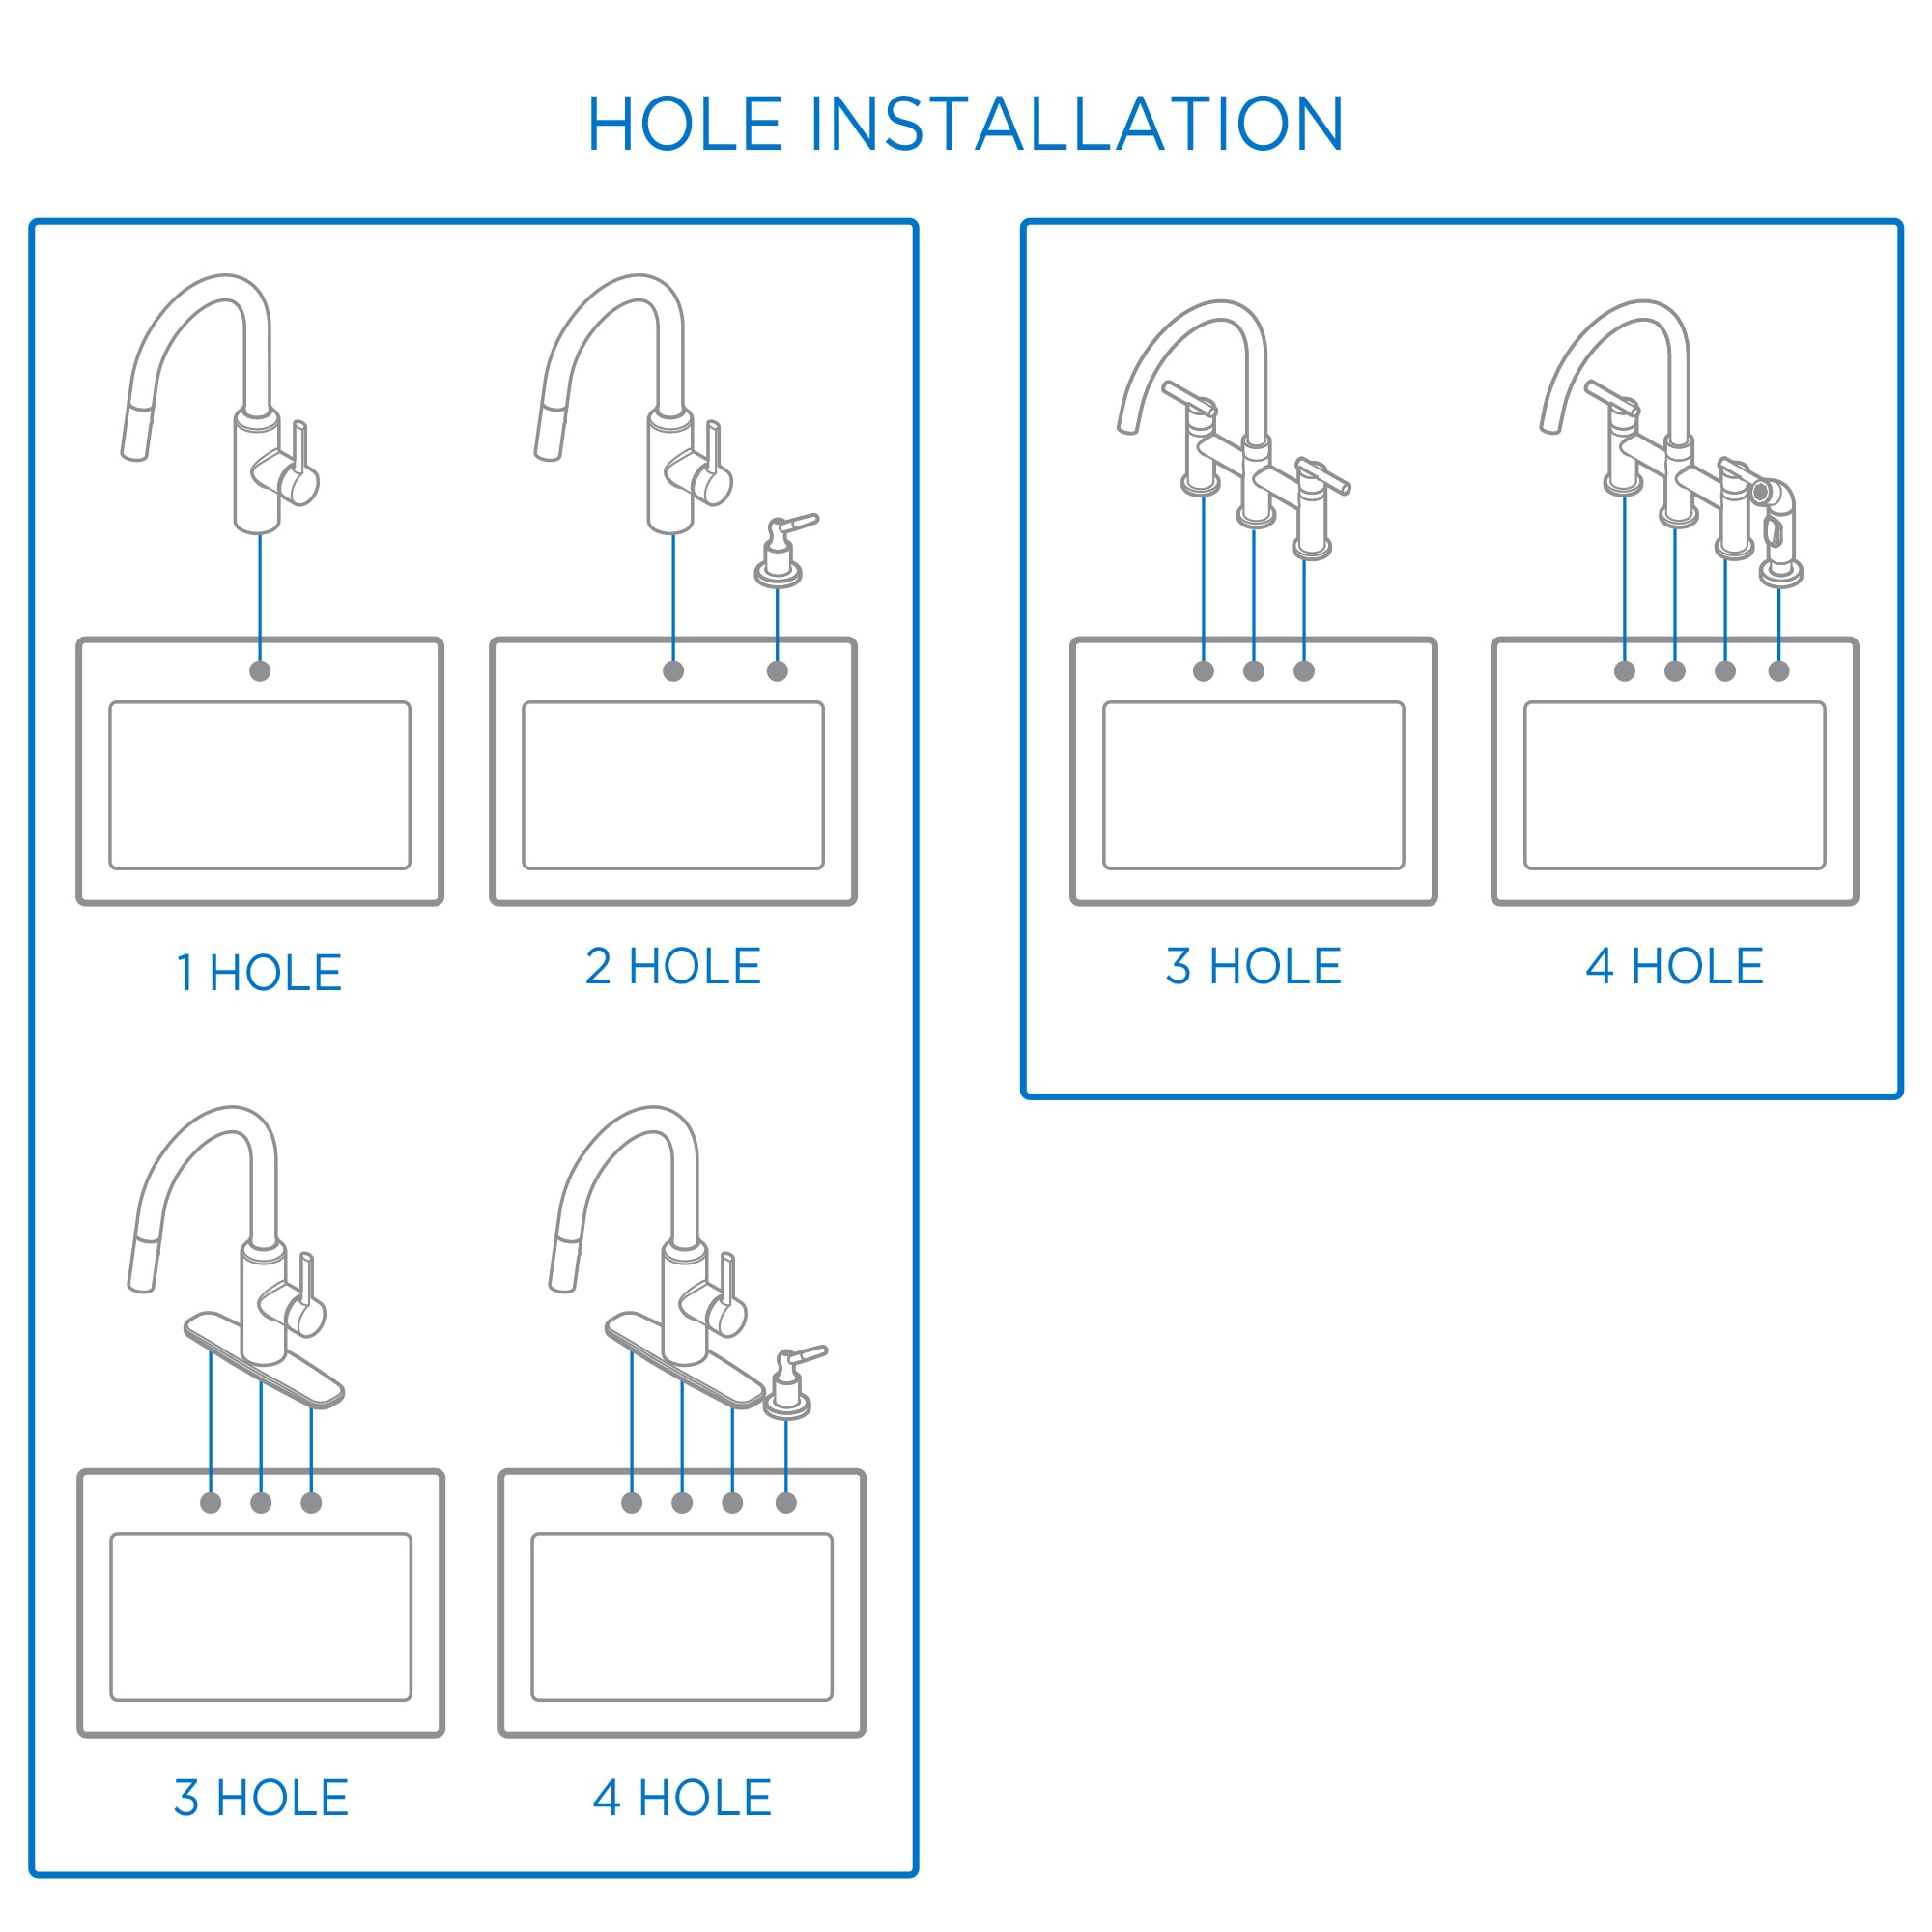
Selecting the right faucet for your sink’s existing holes prevents costly returns and installation headaches. The critical factor determining whether you need a deck plate is your sink’s mounting hole pattern—most sinks feature either single-hole or three-hole configurations spaced 4 inches apart.
Single-hole faucets represent the simplest solution for deck-plate-free installations. These modern fixtures consolidate all components (hot, cold, and spray hose) through one mounting hole. When installed properly, the faucet base sits flush against your sink surface with mounting hardware securing it from underneath—no additional plates needed. If your sink has only one hole or you’ve filled unused holes with appropriate covers, a single-hole faucet provides the cleanest aesthetic solution.
Three-hole faucets can also install without deck plates when replacing an existing three-hole fixture. Modern designs often include base plates that span all three holes, eliminating the need for separate cover plates. If your sink already has three holes spaced on 4-inch centers, verify your new faucet’s base dimensions match this spacing before purchasing. Some specialty faucets like bridge models require specific hole configurations—always check manufacturer specifications against your sink’s existing holes before committing to a purchase.
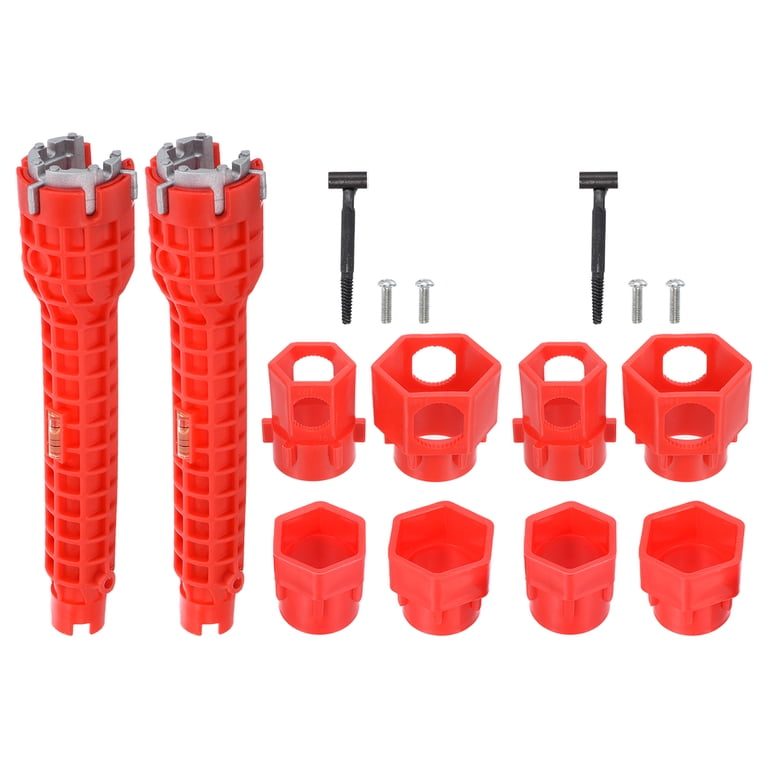
Assemble These Critical Tools Before Starting
Gathering the right equipment prevents mid-installation frustration and ensures watertight connections. Skip this step and you’ll likely encounter stripped nuts, leaks, or damaged components requiring emergency hardware store runs.
Your essential toolkit must include an adjustable wrench (10-inch recommended) for securing mounting nuts and supply lines, plus a basin wrench specifically designed for tight spaces beneath sinks. A complete screwdriver set—both flathead and Phillips—is necessary for removing old hardware and adjusting components, while plumber’s tape (PTFE) creates reliable seals on threaded connections. Don’t forget several old towels and a bucket to catch inevitable water spills during disconnection and testing phases.
For optimal results, add these professional-grade items to your arsenal: pipe thread sealant as an alternative to plumber’s tape for larger threads, kitchen-grade silicone caulk for permanent sealing against water intrusion, and a quality flashlight to illuminate the dark cavity beneath your sink. The basin wrench deserves special attention—its extended handle and pivoting jaw mechanism make reaching stubborn mounting nuts significantly easier than struggling with standard wrenches in confined spaces.
Shut Off Water Supply Properly to Prevent Flooding
Skipping proper water shutoff procedures risks catastrophic flooding that damages cabinets and flooring. Locate the shutoff valves beneath your sink—typically two valves (hot and cold) positioned on the supply lines entering the faucet body.
Turn each valve clockwise until fully closed, applying steady pressure without forcing. If your faucet lacks individual shutoff valves (common in older homes), you must shut off the main water supply to your entire house. This more disruptive approach ensures no water can flow during your work but requires turning off irrigation systems and appliances that need water supply.
After closing valves, open the faucet handles to release residual pressure from the supply lines. Place your bucket beneath the supply line connections before disconnecting—this catches water remaining in the lines. Expect a small amount of water to escape even after pressure release, so keep towels handy. Taking this step seriously prevents the most common DIY plumbing disaster: encountering unexpected water flow mid-installation.
Remove Old Faucet Components Systematically
Disassembling your existing fixture requires methodical attention to prevent damage to pipes and surrounding fixtures. Work through each connection point carefully, keeping track of component placement for reference.
Begin by disconnecting supply lines from shutoff valves using your adjustable wrench. Employ the two-wrench technique—hold the valve fitting steady with one wrench while turning the supply line nut with the other—to prevent valve rotation that could damage supply pipes. Position your bucket beneath to catch residual water.
Next, remove mounting hardware beneath the sink. Most faucets use mounting nuts threaded onto studs or a mounting plate secured with screws. Loosen nuts counterclockwise; they may resist movement after years of moisture exposure, so apply penetrating oil if needed. If your faucet includes a pull-down spray head, disconnect the quick-disconnect fitting near the base before lifting the fixture out.
With all connections severed, clean the mounting area thoroughly using a plastic scraper to remove old plumber’s putty or silicone residue without scratching sink surfaces. This preparation ensures proper sealing for your new faucet.
Position New Faucet for Perfect Alignment
Precise placement determines whether your faucet functions properly or develops annoying wobble over time. Remove your new faucet from packaging and inspect all components against the manufacturer’s parts list before proceeding.
For single-hole installation, feed supply lines and hose connections through the mounting hole simultaneously. Ensure the faucet’s base plate sits flush against the sink surface, then rotate the fixture to center it over the sink bowl—typically aligning with the drain. Maintain this position while moving to the securing step.
Three-hole installations without deck plates require the faucet’s base to span all three holes precisely. The center of the base should align with the center hole while side inlets reach the outer holes. Take time with this alignment—once secured, making adjustments becomes significantly more difficult. Some faucets include specialized gaskets designed specifically for this three-hole configuration.
Secure Mounting Hardware Without Overtightening

Working beneath the sink, install mounting hardware to hold your faucet securely in place. Thread mounting nuts onto the faucet shank by hand first to establish proper threading—most faucets include one or two large nylon or brass nuts that distribute mounting force evenly.
Tighten hardware using your basin wrench, alternating between opposing nuts to ensure even pressure distribution. This prevents the faucet from rotating or tilting during tightening. Avoid overtightening, which can crack the sink surface or strip mounting hardware threads—the goal is firm, secure attachment without excessive force.
If your faucet includes a spray head, connect the quick-disconnect fitting to the hose, ensuring it moves freely without kinking. Restricted spray hoses cause frustration during daily use and can damage internal components over time.
Connect Water Supply Lines for Leak-Free Operation
Proper connection technique prevents the leaks that cause hidden water damage behind cabinets. Apply plumber’s tape to faucet inlet fitting threads by wrapping 2-3 times clockwise, pressing the tape into the threads as you go. This creates a reliable seal that prevents weeping at threaded connections.
Connect hot and cold lines to their respective inlet fittings—the hot line (typically red or marked “H”) connects to the left inlet, while cold (blue or “C”) connects to the right. Hand-tighten first, then use a wrench for an additional 1/4 to 1/2 turn. Connect supply lines to shutoff valves using the same technique, ensuring washers inside supply line nuts are present and in good condition.
Test Every Connection Before Calling It Done
Thorough testing catches problems while they’re easy to fix rather than after they’ve caused cabinet damage. Slowly open shutoff valves by turning counterclockwise, then open them fully once water begins flowing.
Check all connections for leaks systematically, beginning at the shutoff valves and working toward the faucet. Dry each connection with a towel, then watch closely for moisture appearing as you operate the faucet through all functions. Run water for several minutes to flush debris from supply lines, then check connections again—some leaks only appear under sustained water pressure.
Pay particular attention to hidden connections beneath your sink. Any moisture indicates a connection needing tightening or resealing—a small drip now becomes significant damage over time.
Fix Common Installation Problems Immediately
Even careful installations sometimes encounter issues that require quick resolution. If your faucet wobbles after installation, tighten mounting nuts beneath the sink while alternating between opposing nuts to maintain alignment. Check that the mounting surface is completely clean and verify the gasket beneath the faucet base has no gaps.
Leaking at the handle base usually indicates a loose handle mounting nut—locate this nut beneath the handle cap and tighten it firmly. Low water pressure often results from a clogged aerator; remove and clean it thoroughly. If hot and cold water are inverted, simply swap the supply line connections at the shutoff valves.
Maintain Your Faucet for Years of Trouble-Free Service
Regular maintenance extends your faucet’s lifespan significantly. Monthly, clean the finish with a soft cloth and mild soap while inspecting for leaks. Operate handles through their full range to prevent mineral buildup in valve mechanisms.
Quarterly, remove and clean the aerator to maintain water flow, check mounting hardware tightness (vibrations can loosen nuts over time), and inspect supply lines for deterioration. Annually, deep clean the faucet finish according to manufacturer recommendations for your specific material—chrome, brushed nickel, matte black, or oil-rubbed bronze each require different care.
Installing a kitchen faucet without a deck plate is a rewarding project that most DIYers complete successfully with proper preparation. The keys to success lie in understanding your specific faucet’s requirements, preparing the mounting surface meticulously, and thoroughly testing all connections before considering the project complete. When in doubt, consulting a licensed plumber remains advisable, particularly for complex installations or unexpected plumbing configurations. By following these systematic procedures, you’ll achieve professional-quality results that deliver reliable performance for years to come.


