
Nothing ruins your kitchen workflow faster than turning on the faucet expecting a refreshing stream of cold water only to get nothing at all. When your cold water kitchen faucet not working properly, simple tasks like filling a glass, rinsing produce, or preparing meals become frustrating ordeals. This comprehensive guide delivers immediate solutions for restoring cold water flow to your kitchen sink, with troubleshooting steps that address every possible cause from simple fixes to more complex issues.
Most cold water faucet failures stem from preventable problems that homeowners can resolve without calling a plumber. By following this systematic approach, you’ll identify whether the issue involves basic components like shutoff valves or aerators, or if it requires professional intervention. The techniques outlined here apply to all common kitchen faucet types, including single-handle, double-handle, pull-down sprayers, and touchless models.
Understanding why cold water stops flowing while hot water often continues working requires targeted diagnostics. In most cases, the problem isn’t with your entire plumbing system but with specific components between your main water supply and the faucet itself. This guide walks you through each potential failure point so you can restore cold water flow efficiently and cost-effectively.
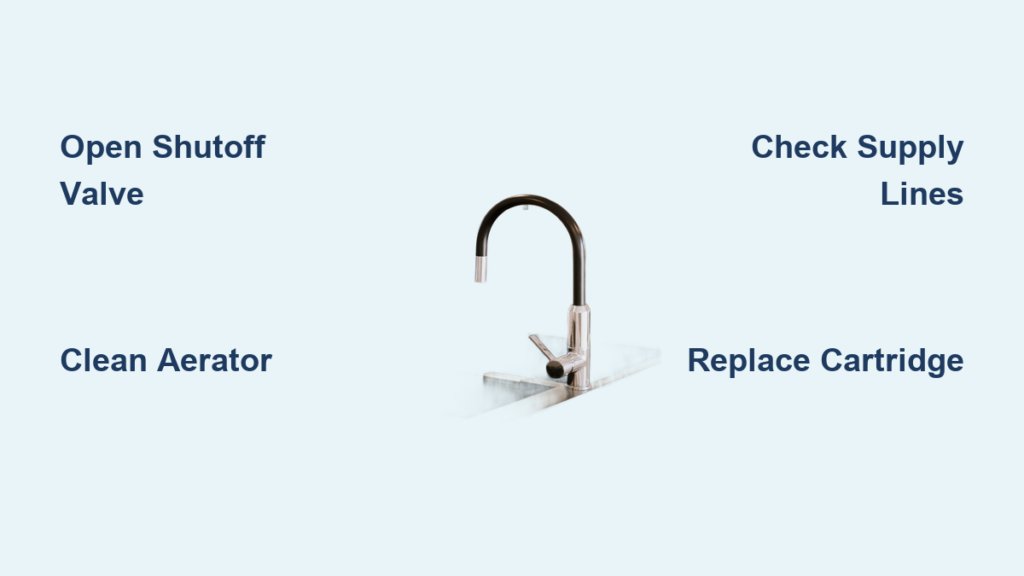
Locate and Open Your Cold Water Shutoff Valve
The most common reason your cold water kitchen faucet not working properly is simply a closed shutoff valve beneath the sink. These valves often get accidentally bumped during cabinet cleaning or storage rearrangement, cutting off water flow without warning.
Find the shutoff valves under your sink—typically two oval-shaped handles connected to flexible supply lines. The cold water valve usually has a blue indicator or sits on the right side (opposite hot water’s red indicator or left position). Turn the cold water valve handle counterclockwise until it stops, ensuring it’s fully open. If the handle resists movement, apply penetrating oil and wait 10 minutes before gently attempting to turn it again.
Test your faucet immediately after opening the valve. If cold water flows normally, you’ve solved the problem in under two minutes. If resistance persists or the valve leaks when opened, complete valve replacement becomes necessary—a straightforward repair requiring only an adjustable wrench and about 20 minutes of your time.
Remove and Clean Your Faucet Aerator
Mineral deposits and sediment accumulation in your faucet aerator frequently cause what appears to be a complete cold water failure. Since cold water runs through pipes less frequently than hot water in many households, sediment builds up faster in cold supply lines, eventually blocking water flow at the aerator screen.
Unscrew the aerator at your faucet’s tip by turning it counterclockwise. Use channel-lock pliers wrapped in a cloth if it’s stuck, being careful not to scratch the finish. Once removed, examine the mesh screens for white mineral deposits or visible debris clogging the openings.
Soak the aerator in white vinegar for 30 minutes to dissolve mineral buildup, then scrub gently with an old toothbrush. Pay special attention to the small rubber washers inside the aerator assembly—replace any that appear cracked or worn. Before reinstalling, turn on the cold water supply briefly to flush debris from the faucet body, then screw the clean aerator back on by hand.
Inspect Supply Lines for Kinks and Damage

Your faucet’s flexible supply lines can develop problems that completely block cold water flow. These braided steel or polymer tubes sometimes develop sharp kinks when items stored under the sink shift position, or they may suffer internal corrosion that restricts water passage while showing no external signs of damage.
Check both supply lines running from your shutoff valves to the faucet base, looking for sharp bends, flattened sections, or areas where the line appears compressed against cabinet walls. Even a slight kink can dramatically reduce water pressure or stop flow entirely. Gently reposition any kinked lines to restore smooth curves without sharp angles.
If visual inspection reveals corrosion spots, rust stains, or moisture around connections, replace the affected supply line immediately. This $15 repair requires only an adjustable wrench: shut off water at the valves, disconnect the old line (place a towel underneath to catch residual water), attach the new line hand-tight plus a quarter-turn with the wrench, then slowly open valves to check for leaks.
Diagnose Single-Handle Cartridge Failure
Single-handle kitchen faucets rely on an internal cartridge to control water temperature and flow. When this component fails—common in faucets over five years old—your cold water may stop working entirely while hot water continues flowing normally.
Identify your faucet brand (Delta, Moen, Kohler, etc.) to determine the specific cartridge type, usually visible after removing the handle cap and retaining screw. With water supply turned off, pull off the handle to access the cartridge. A properly functioning cartridge should move smoothly when pulled up slightly and rotated.
If the cartridge feels gritty or sticks during movement, mineral deposits have likely damaged internal seals. While some cartridges can be cleaned, most require replacement for reliable operation. The $25-$45 cartridge replacement process takes 30-60 minutes and involves removing the old cartridge with a specialized puller tool, cleaning the valve body, applying plumber’s grease to new O-rings, and reinstalling components in reverse order.
Check Double-Handle Valve Stems for Wear
In double-handle faucets, cold water failure typically indicates problems with just the cold-side valve stem while the hot side continues working. These stems contain rubber washers that wear out over time, preventing proper water flow when the handle reaches its normal position.
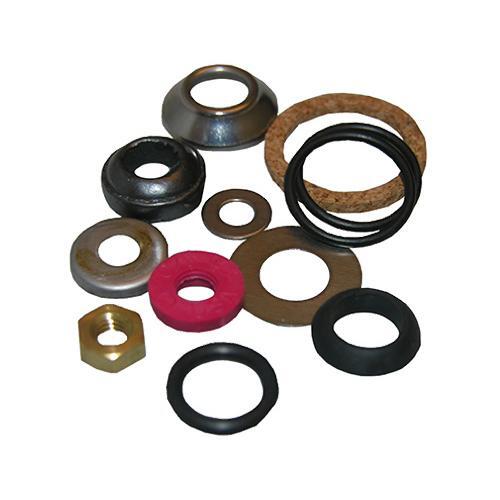
Remove the cold handle’s decorative cap and retaining screw, then unscrew the valve stem counterclockwise with an adjustable wrench. Inspect the rubber washer at the stem’s base—cracks, tears, or uneven wear indicate replacement is needed. While you have the stem out, examine the valve seat inside the faucet body for pitting or mineral deposits that prevent proper sealing.
Replacement washers cost less than $5 and install in minutes. For valve seats with minor corrosion, use a seat wrench and fine abrasive cloth to restore a smooth sealing surface. If your faucet uses ceramic disc technology instead of traditional washers, clean the discs thoroughly and replace any worn rubber seals before reassembly.
Verify Whole-House Plumbing System Function
When multiple fixtures throughout your home experience cold water issues simultaneously, you’re likely facing a systemic plumbing problem rather than a faucet-specific failure. This requires different diagnostic approaches that address your entire water delivery system.
Test bathroom sinks, showers, and outdoor spigots to determine if the cold water problem affects only your kitchen or your entire home. If cold water is absent everywhere, check your main water shutoff valve and pressure regulator—typically located where water enters your home. A partially closed main valve or failing pressure regulator can reduce flow to all fixtures.
During cold weather, inspect accessible pipes for frost or condensation that might indicate frozen sections. Never use open flames to thaw pipes—apply gentle heat with a hair dryer or heating pad instead. If you suspect frozen pipes have caused a rupture, shut off your main water supply immediately and call a professional plumber.
Address Water Heater Cross-Connection Issues
An often-overlooked cause of cold water faucet problems involves cross-connection between hot and cold water lines, frequently related to water heater installation or check valve failures. This situation makes your faucet deliver only hot water regardless of handle position, creating the illusion that cold water has failed.
Check the cold water inlet valve on your water heater to ensure it’s fully open. Inspect for improper connections that might allow hot water to flow backward into cold supply lines. A failed check valve in your plumbing system can create pressure imbalances that affect cold water delivery while hot water continues flowing normally.
If cold water problems coincide with water heater operation cycles, professional diagnosis becomes essential. Licensed plumbers can identify and repair cross-connection issues that might otherwise contaminate your drinking water supply with excessively hot water.
Recognize When Professional Help Is Necessary
While most cold water faucet problems yield to DIY repairs, certain situations require professional plumbing expertise. Attempting complex repairs without proper tools or knowledge often creates additional damage that increases overall repair costs.
Call a licensed plumber immediately if you encounter persistent leaks from supply lines or shutoff valves, multiple fixtures affected simultaneously, frozen pipes showing signs of splitting, or water discoloration indicating possible contamination. Professional repairs typically cost $150-$500 depending on complexity but prevent catastrophic water damage that could cost thousands in restoration.
Establish relationships with reputable plumbers before emergencies occur. Verify licensing and insurance, request written estimates, and keep contact information readily accessible. A qualified plumber brings specialized tools and expertise that complete complex repairs faster and more reliably than DIY attempts.
Prevent Future Cold Water Failures
Regular maintenance prevents most cold water faucet problems before they disrupt your kitchen routine. Exercise shutoff valves quarterly by turning them fully closed then fully open to prevent mineral buildup from freezing them in position.
Clean faucet aerators monthly by removing and soaking them in vinegar, especially in hard water areas. Inspect supply lines annually for signs of corrosion or wear, replacing rubber lines with braided stainless steel for longer service life. Consider installing a whole-house water filtration system if sediment frequently clogs your fixtures.
Schedule professional plumbing inspections every two to three years, particularly for homes over 20 years old. These preventative measures extend faucet lifespan and ensure reliable cold water delivery when you need it most.
When your cold water kitchen faucet not working properly, systematic troubleshooting saves time and money while restoring essential functionality. By following these diagnostic steps in order, you’ll identify whether the problem requires simple maintenance or professional intervention. Remember that patience and methodical testing yield better results than forced repairs that might cause additional damage. With proper care and timely attention to developing issues, your kitchen faucet should provide reliable cold water for many years to come.


