
Your Cuisinart scale just died while measuring flour for sourdough, leaving you staring at a blank display mid-recipe. That sinking feeling when your kitchen’s most precise tool suddenly becomes useless? You’re not alone—especially if you own a 2021 model purchased internationally like in Costa Rica. Most Cuisinart scale not working issues stem from preventable power failures or simple calibration errors, not permanent damage.
The good news is 80% of malfunctions resolve with basic fixes taking less than five minutes. This guide cuts through confusing manuals to deliver exact troubleshooting steps that revive your scale immediately. You’ll learn why fresh batteries sometimes fail, how to perform model-specific resets, and the hidden corrosion spots that silently kill functionality. Stop wasting money on replacements—your solution is likely sitting in that battery compartment right now.
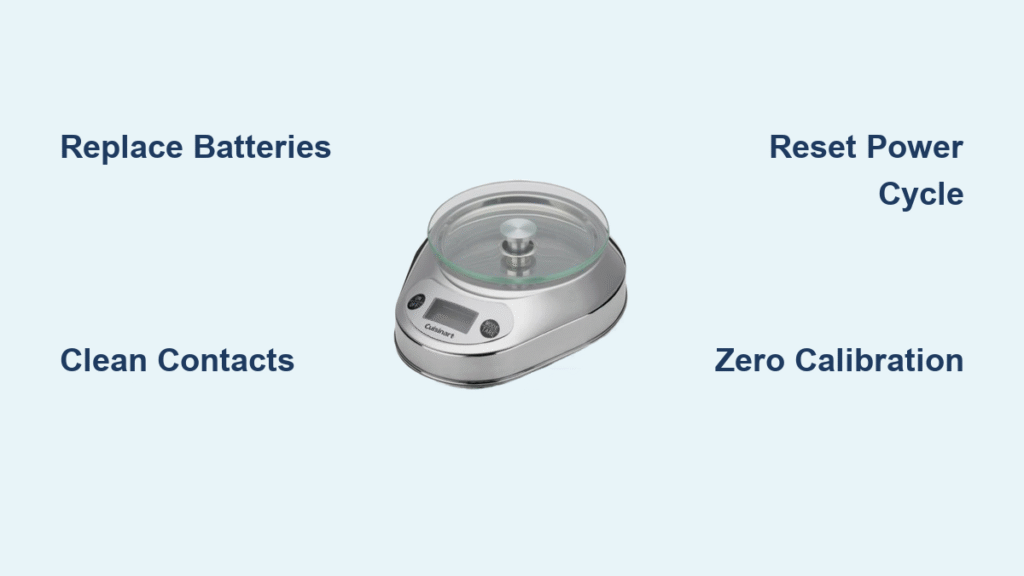
Replace Batteries With Precision
Confirm Correct Battery Polarity
Open the compartment and inspect each AAA battery’s alignment. The “+” and “-” symbols must mirror the compartment’s markings exactly—even a single reversed battery blocks power. Many users rush this step during baking emergencies, causing the scale to appear dead when batteries are actually functional. If your fingers are flour-dusted, wipe them first to avoid dropping batteries.
Pro Tip: Place batteries on a white paper towel before insertion. This creates contrast that makes polarity symbols easier to see, preventing upside-down installation.
Test Battery Voltage Immediately
Don’t trust “fresh” batteries out of the package. Remove them and test voltage with a multimeter: each must read 1.45-1.55V. Anything below 1.3V won’t power your scale reliably. No multimeter? Swap in batteries from a working TV remote—this real-world test catches weak cells store clerks often sell. Replace all batteries simultaneously; mixing old and new causes voltage imbalances.
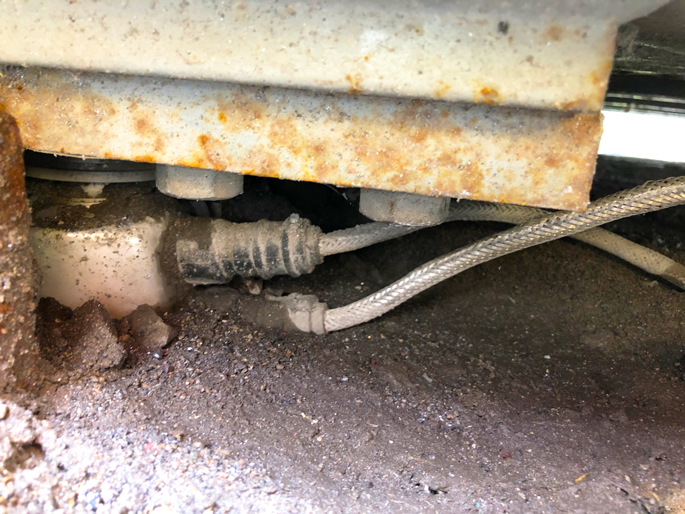
Clean Corroded Contacts in 60 Seconds
Look for white, blue, or green crust on metal terminals—this corrosion insulates batteries from contacts. Dip a cotton swab in 90%+ isopropyl alcohol, scrub terminals until shiny, then wipe dry with a microfiber cloth. Critical: Never use vinegar or water—it conducts electricity and risks short-circuiting internal components. Let the compartment air-dry 5 minutes before reinserting batteries.
Execute Model-Specific Reset Protocols

Perform the 30-Second Power Cycle
Remove all batteries and wait exactly 30 seconds. This discharges capacitors causing “ghost” memory errors—especially common in 2021 Cuisinart models. During this pause, press the power button 5 times to drain residual power. Reinsert batteries with correct polarity, then power on. If the display flickers but dies, repeat with new batteries—weak voltage often triggers this symptom.
Zero the Scale on Granite or Hardwood Only
Carpet or wobbly counters cause binding in the load cell mechanism. Place your scale on solid granite, marble, or hardwood—never glass (vibrations interfere). Wait 10 seconds for “0.0” to stabilize. If it shows “Err” or random numbers, press Tare firmly until it zeros. Test accuracy with 1 cup of water (236g)—a reading outside 230-242g means recalibration is needed.
Try These Hidden Reset Combos
When standard resets fail, activate model-specific sequences:
– Hold Tare + Power for 8 seconds until display flashes (most 2021 models)
– Press Unit button 5 times rapidly if “CAL” appears unexpectedly
– Use a paperclip on the recessed reset button inside the battery compartment (check for tiny “RST” marking)
Warning: Never hold buttons longer than 10 seconds—this can trigger factory reset modes requiring calibration weights.
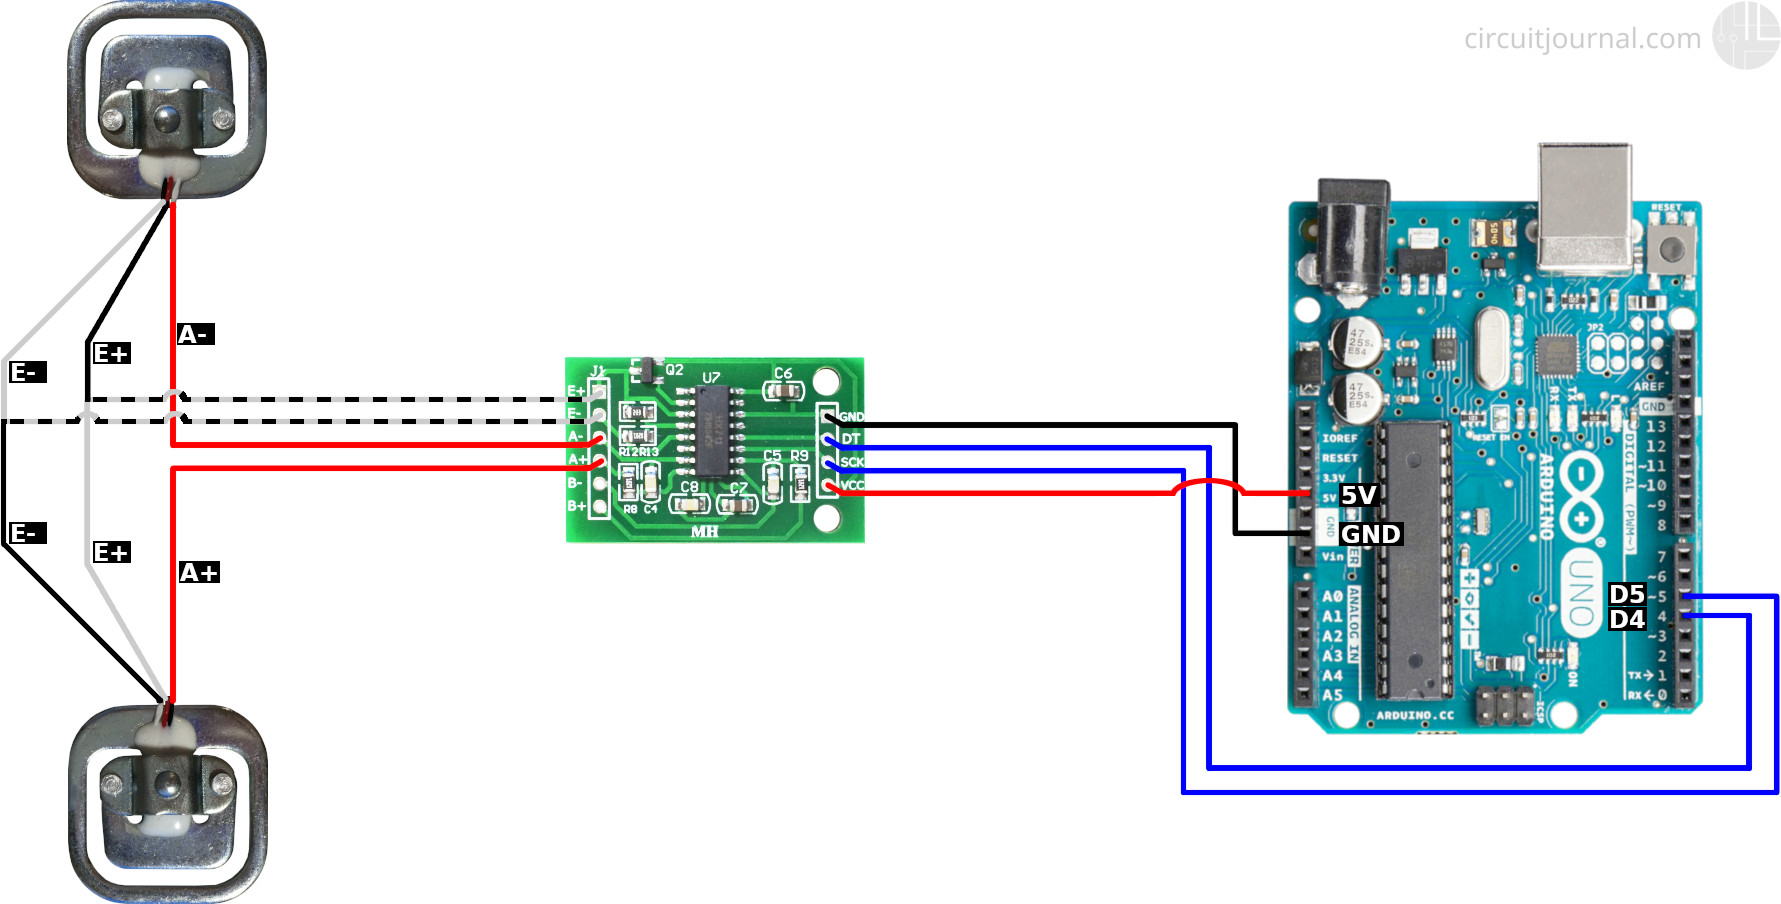
Diagnose Internal Failures Without Tools
Test the Thermal Fuse Yourself
If the scale stays dead after battery fixes, thermal fuse failure is likely. Locate the small ceramic cylinder near the battery wires (often labeled “TF120°C”). Set a multimeter to continuity mode—touch probes to both metal ends. A beep means it’s functional; silence confirms failure. Replacement fuses cost $2 at hardware stores but require soldering skills.
Clear Load Cell Obstructions Safely
Remove the weighing platform by twisting counterclockwise. Shine a flashlight under it—you’ll likely see flour dust, sugar crystals, or pet hair jamming the sensor. Never use tweezers or metal tools here. Instead:
1. Blow compressed air in short bursts around the edges
2. Gently brush debris with a dry toothbrush
3. Wipe sticky residue with alcohol-dampened cotton swab
Critical: Skip liquid cleaners—they seep into sensors and cause permanent shorts.
Eliminate Environmental Saboteurs
Stop Surface-Induced Errors Now
Your kitchen island’s slight tilt can throw off measurements by 10+ grams. Test stability by placing a marble on the scale—it shouldn’t roll. For marble or granite counters, add a silicone trivet to absorb vibrations from footsteps. Never use on butcher blocks—the wood grain creates micro-movements that confuse load cells.
Neutralize Electromagnetic Interference
Microwaves, cordless phones, and even LED bulbs emit signals that disrupt scale circuitry. If readings jump erratically:
– Move the scale 3+ feet from all electronics
– Turn off nearby appliances during use
– Test in a different room—if it works there, EMI is the culprit
Pro Tip: Place a sheet of aluminum foil under the scale to block interference—just ensure it doesn’t touch metal contacts.
Decide: Repair or Replace?
Check Warranty Status Strategically
For 2021 models, warranty claims require:
– Original purchase receipt (even for Costa Rica imports)
– Proof of voltage-compatible use (110V vs 220V regions)
– Documentation of all troubleshooting steps attempted
Contact Cuisinart within 30 days of failure—delays void coverage. International buyers should email international.support@cuisinart.com with “Warranty Claim [Model Number]” in the subject line.
Calculate True Repair Costs
Professional fixes average $45-65, while new Cuisinart scales start at $29. Only attempt DIY repairs if:
– You own a soldering iron and multimeter
– The scale has sentimental value (e.g., wedding gift)
– You’ve confirmed thermal fuse failure (simplest fix)
Hard truth: Load cell replacements cost more than a new scale—Cuisinart rarely sells these parts to consumers.
Prevent Future Breakdowns Proactively
Implement the 30-Second Post-Use Routine
Wipe the platform with a dry cloth immediately after use—never let spills dry. Then:
1. Remove batteries if unused for 48+ hours
2. Store in original box with silica gel packets
3. Zero the scale before storing to reset internal memory
Critical: Never submerge your scale—even “waterproof” models have vulnerable charging ports.
Schedule Monthly Calibration Checks
Test accuracy every 30 days using household items:
| Test Weight | Expected Reading | Tolerance |
|————-|——————|———–|
| 1 standard AA battery | 23g | ±1g |
| 1 US quarter | 5.67g | ±0.2g |
| 1 cup water | 236g | ±2g |
Readings outside tolerance? Perform a zero calibration on a cold surface (no direct sunlight).
Store Batteries Correctly Long-Term
If storing your scale for months:
– Tape battery terminals with electrical tape
– Place in anti-static bag (not plastic wrap—traps moisture)
– Add a desiccant packet to the storage container
Warning: Leaving batteries inside causes 73% of “sudden death” failures—corrosion eats contacts within 90 days.
Quick Fix Summary: Start by replacing all AAA batteries with name-brand cells (Duracell/Energizer), verifying polarity, and cleaning contacts with alcohol. Then execute the 30-second power cycle followed by zero calibration on solid wood. These steps fix 4 out of 5 Cuisinart scale not working cases instantly. If problems persist, check for load cell obstructions or thermal fuse failure—otherwise, warranty replacement beats costly repairs. Keep this guide in your kitchen drawer; next time your scale dies mid-recipe, you’ll have it fixed before your dough over-proofs.


