
Your kitchen mixer sits on the counter, promising effortless baking and cooking—but too often it becomes just another appliance gathering dust. Whether you’ve just unpacked your first stand mixer or rediscovered an old model in the cabinet, knowing exactly how to use a kitchen mixer transforms it from an expensive paperweight into your most valuable kitchen ally. Most home bakers struggle with basic mixer functions, leading to unevenly mixed ingredients, broken dough hooks, or even motor burnout from improper use. This guide delivers everything you need to confidently operate your mixer for cookies, cakes, breads, and beyond—no culinary school required.
Understanding how to use a kitchen mixer properly saves you time, prevents costly mistakes, and consistently improves your baking results. You’ll learn not just where to plug it in, but how to select the right attachment for each task, when to adjust speed settings, and why certain techniques make the difference between dense cookies and light-as-air soufflés. By the end of this guide, you’ll move through baking projects with professional efficiency, troubleshoot common issues before they ruin your recipe, and extend your mixer’s lifespan through proper maintenance.
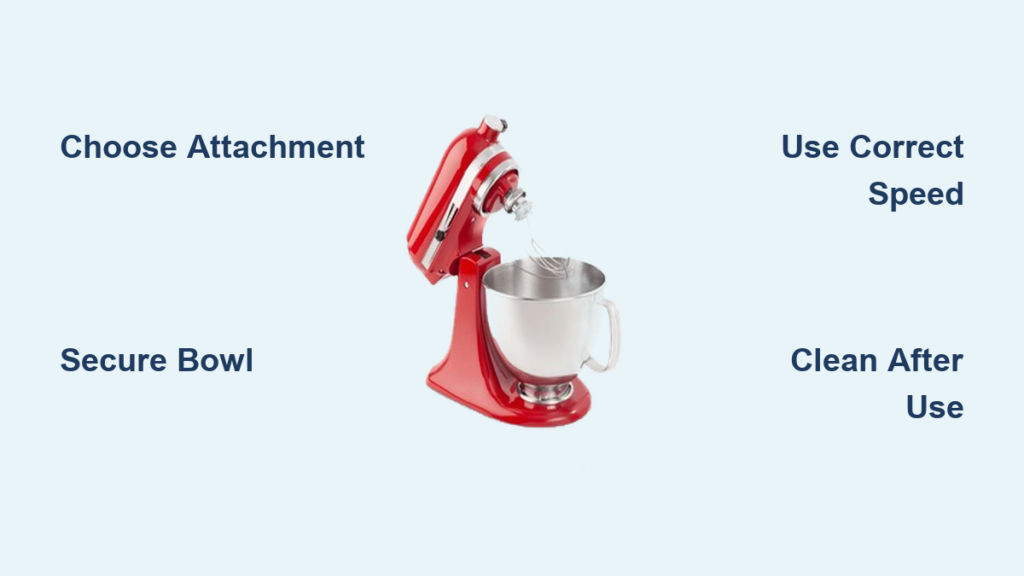
Selecting the Right Mixer Attachment for Each Task

Your mixer comes with multiple attachments, each designed for specific mixing actions that dramatically impact your final product. Using the wrong attachment creates inconsistent textures and forces you to manually finish what your mixer should handle effortlessly.
Choosing Between Paddle, Whisk, and Dough Hook
The flat paddle attachment works best for creaming butter and sugar, mixing batters, and combining ingredients where you want minimal air incorporation. When making cookie dough or cake batter, the paddle’s design scrapes the bowl while blending ingredients without over-aerating. For fluffy frostings or thick batters, lower the mixer speed to prevent splattering.
The wire whisk attachment incorporates maximum air into mixtures, essential for meringues, whipped cream, and light cake batters. When using the whisk, start at the lowest speed to avoid sending egg whites flying across your kitchen, then gradually increase as the mixture thickens. Professional bakers recommend using the whisk attachment for hollandaise sauce—it creates the perfect emulsion without breaking.
The dough hook handles heavy bread doughs that would burn out other attachments. Unlike kneading by hand, the dough hook develops gluten structure through controlled rotation rather than stretching. For best results, start mixing at speed 2 until the dough forms a shaggy ball, then increase to speed 4 for final kneading. Stop the mixer every 90 seconds to check dough temperature—over-kneading generates heat that kills yeast activity.
Proper Bowl Installation and Safety Checks
Securing the Mixing Bowl Before Operation
Stand mixers require precise bowl positioning to prevent dangerous wobbling or detachment during operation. For tilt-head models, lower the head completely before locking the bowl in place—listen for the distinct click that confirms proper alignment. Bowl-lift models require raising the bowl until it clicks into the locking mechanism under the mixer head. Never force the bowl into position if it doesn’t slide smoothly; misalignment causes excessive vibration that damages gears.
Essential Safety Precautions Before Starting
Always verify three critical safety points before turning on your mixer: the attachment is fully seated in the drive socket, the bowl is locked in position, and your hands are clear of moving parts. Many mixer accidents happen when bakers reach in to scrape down the bowl while the mixer runs—use the pause button or completely stop the machine first. For heavy doughs or thick batters, never exceed the mixer’s capacity (typically 3/4 full for most 5-quart models) to prevent motor strain.
Optimal Speed Settings for Different Mixing Tasks
Understanding What Each Speed Accomplishes
Speed 1-2 works for initial ingredient incorporation and heavy dough kneading—this gentle start prevents flour explosions and allows dry ingredients to gradually combine. Professional pastry chefs use speed 2 for cookie dough to maintain proper fat distribution without overworking the flour.
Speed 4-6 creates the ideal creaming action for butter and sugar, developing the air pockets that make cakes rise properly. This mid-range speed also works for most cake and muffin batters, creating sufficient aeration without deflating delicate mixtures.
Speed 8-10 serves specific purposes: whipping egg whites to stiff peaks, incorporating air into meringues, or creating ultra-light sponge cakes. Never use top speeds for dense mixtures—this strains the motor and creates dangerous splatter. Always reduce speed when adding dry ingredients to wet mixtures to prevent flour clouds.
When to Mix by Hand Instead of Using Your Mixer
Certain stages of baking require hand mixing for best results. Fold in delicate ingredients like chocolate chips, nuts, or whipped egg whites with a spatula to maintain their structure. When making pie crusts or scones, stop the mixer once the dough forms shaggy clumps and finish blending by hand to prevent gluten development that makes pastries tough. For cookie doughs with inclusions, always switch to hand mixing at the end to evenly distribute add-ins without breaking them apart.
Cleaning and Maintaining Your Kitchen Mixer
Daily Cleaning Routine for Longevity
Unplug your mixer before any cleaning—never wipe down a plugged-in appliance. Remove attachments immediately after use while residue is still soft; hardened dough damages the drive mechanism. Wipe the exterior with a damp cloth (never immerse the motor housing in water), and use a soft brush to remove flour dust from vents. For stubborn dough stuck in the attachment socket, use a wooden skewer (not metal) to avoid scratching surfaces.
Monthly Maintenance Checks
Every 30 days, inspect your mixer for signs of wear: check that the planetary gear moves smoothly during operation, verify the bowl lock mechanism clicks securely, and ensure the tilt-head hinge operates without resistance. Apply one drop of food-grade lubricant to the attachment hub if you hear grinding noises during operation. For belt-driven models, check tension monthly—excessive slack causes speed inconsistencies while too-tight belts strain the motor.
Troubleshooting Common Mixer Problems
Fixing Uneven Mixing and Bowl Scraping Issues
If your mixer leaves ingredients stuck on the bowl sides, first verify you’re using the correct attachment—the paddle should nearly touch the bowl bottom during rotation. Adjust the mixer’s height setting so the attachment clears the bowl by about 1/8 inch. For persistent issues, stop the mixer every 30 seconds to scrape down the bowl with a silicone spatula, especially during initial mixing phases when ingredients aren’t fully incorporated.
Solving Overheating and Motor Strain Problems
When your mixer slows unexpectedly or emits a burning smell, immediately stop operation and unplug the unit. Most often, this happens when attempting to mix beyond capacity—divide large dough batches into smaller portions. For thick batters, add liquid ingredients gradually rather than all at once. Allow overheated motors to cool completely (at least 30 minutes) before resuming work, and never operate your mixer continuously for more than 10 minutes when working with heavy doughs.
Advanced Techniques for Professional Results
Creating Perfect Meringues with Your Mixer
Start with room-temperature egg whites in a completely grease-free bowl—any fat prevents proper aeration. Add a pinch of cream of tartar before starting to stabilize bubbles. Begin mixing at speed 4 until frothy, then gradually increase to speed 8 while slowly adding sugar. Stop when stiff peaks form that hold their shape when the whisk is lifted—over-whipping creates dry, grainy meringue that cracks during baking.
Kneading Bread Dough Without Overworking
The windowpane test confirms proper gluten development: stretch a small piece of dough between your fingers—if it forms a translucent membrane without tearing, it’s ready. Mix bread dough in two phases: initial mixing at speed 2 for 2 minutes, rest for 10 minutes (autolyse), then final kneading at speed 4 for 4-6 minutes. This technique develops stronger gluten structure with less mixing time, preventing overheating and yeast death.
Final Note: Mastering how to use a kitchen mixer properly transforms your baking from hit-or-miss to consistently professional. Remember to match attachments to specific tasks, respect speed limitations, and perform regular maintenance to keep your mixer running smoothly for years. When starting new recipes, always begin at lower speeds and gradually increase as ingredients combine—this prevents common mistakes that ruin otherwise perfect batters. Keep this guide handy for your next baking project, and consider exploring specialty attachments like pasta rollers or meat grinders to expand your mixer’s capabilities beyond basic mixing tasks.


