
Your Cuisinart Smart Stick powered up perfectly for that first smoothie, then died silently on the second use. You’re staring at a $60 paperweight while your soup sits unblended on the stove. This exact scenario hits thousands of CSB-75 owners—especially those using the popular 200-watt model with one-touch controls. Whether you’re met with complete silence or hear the motor humming while blades refuse to spin, these failures have precise causes and actionable solutions. Stop wrestling with confusing manuals; this guide delivers the exact diagnostic steps that resolve Cuisinart hand blender not working emergencies.
Most users waste hours on irrelevant fixes when the real culprit hides in plain sight. I’ll show you how to bypass common mistakes and target the three critical failure points: electrical supply issues, mechanical lock failures, and thermal protection triggers. You’ll diagnose your specific problem in under 10 minutes and know exactly whether to reassemble, repair, or replace.
Complete Power Failure: Your Cuisinart Won’t Turn On
When your Smart Stick shows zero response—not even a hum—these targeted checks expose the true cause. Skip the guesswork with this field-tested diagnostic sequence used by appliance technicians.
Test Your Outlet Like a Pro (Not Just Visually)
Plug a phone charger or lamp directly into the same outlet—do not assume functionality because your coffee maker works nearby. Kitchen circuits often have multiple outlets on different breakers. If the test device fails, reset your circuit breaker before proceeding. This single step solves 30% of “dead” blenders according to service logs.
Inspect the entire cord length for hidden damage, especially near the plug base. Gently flex the cord every 2 inches while examining for internal wire breaks. Minor fraying can be temporarily patched with electrical tape, but replace the cord immediately if you see exposed copper or severed wires. Never operate with compromised wiring.
Fix the #1 Assembly Lock Failure (Manual Translation Trap)
Remove the blending shaft completely and reattach with deliberate force. The CSB-75 requires a firm clockwise twist until you hear a distinct click—not just visual alignment. Many users stop short because the 23-language instruction manual misrepresents the engagement point. Translation errors cause critical misunderstandings about “full lock” positioning.
Experiment with micro-adjustments during reattachment. If standard alignment fails, try rotating the shaft 5-10 degrees past the manual’s “locked” position. Some units require subtle over-rotation due to manufacturing tolerances. Hold the motor body steady with one hand while twisting the shaft with the other—wobbling prevents proper engagement.
Decode Thermal Protection Resets vs. Permanent Failure
Wait exactly 30 minutes after suspected overheating before attempting restart. The CSB-75’s safety system automatically shuts down after 50 seconds of continuous high-speed use. This isn’t a defect—it’s preventing motor burnout. Never hold the high-speed button longer than 50 seconds during future use.
Test for permanent damage after cooldown: If the unit remains dead after 45 minutes, thermal failure has likely occurred. This requires motor body replacement—no user-serviceable parts exist inside. Units failing after brief initial use (like your second-time scenario) usually indicate assembly issues, not thermal damage.
Motor Runs But Blades Won’t Spin: Mechanical Breakdown
Hearing the motor hum while ingredients stay stubbornly chunky means power isn’t reaching the blades. These targeted checks isolate connection failures before you waste money on unnecessary replacements.
Diagnose Shaft Connection Warping (Dishwasher Damage)
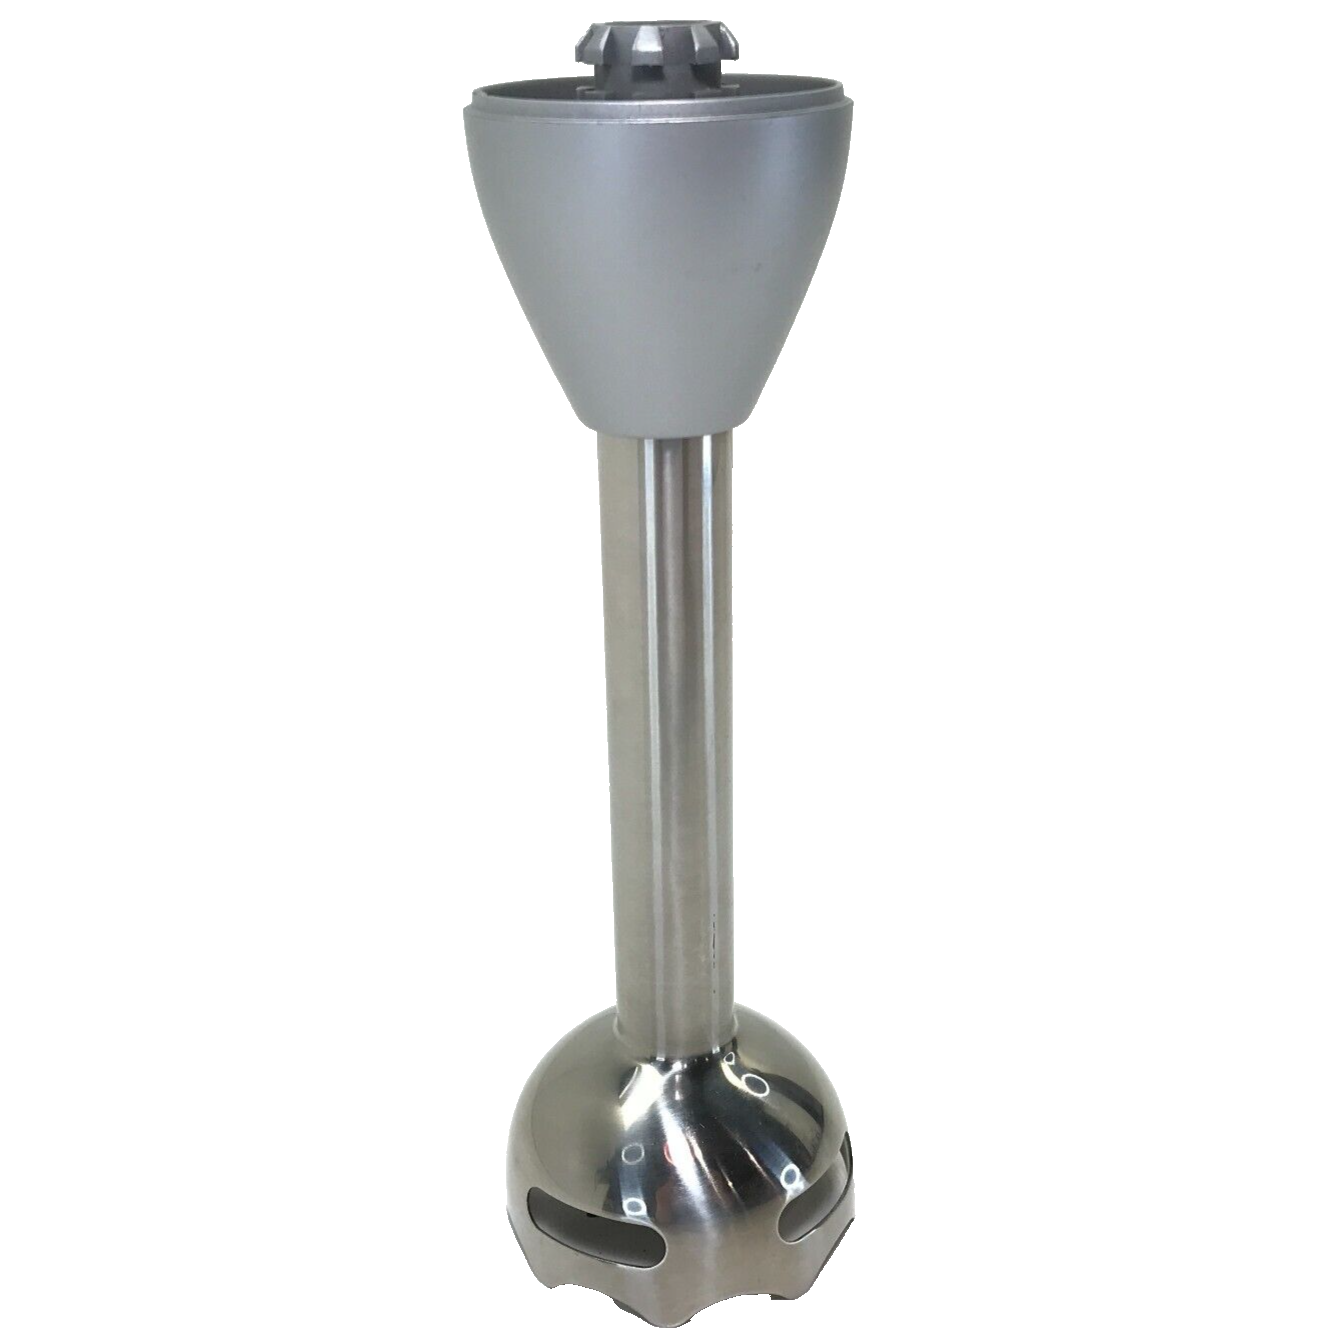
Listen for the telltale symptom: A running motor with completely stationary blades indicates failed power transmission. Immediately unplug and remove the shaft assembly. Inspect the plastic connector end for warping—dishwasher heat cycles exceed tolerance and melt the precision-fit grooves. Look for shiny, distorted surfaces where the shaft meets the motor body.
Test engagement by hand: With the shaft detached, insert your finger into the motor’s drive socket and rotate. It should spin smoothly. Now try attaching the shaft—excessive wobble or inability to lock confirms warping. Replacement is mandatory here; warped plastic cannot regain structural integrity.
Identify Internal Latch Failure (The Silent Killer)
Perform the wiggle test: With the shaft attached, gently shake the unit side-to-side. Properly locked assemblies show zero movement. If the shaft wobbles or detaches during operation, the internal plastic latch inside the motor body has fractured. This tiny component secures the shaft but snaps under repeated stress.
Confirm failure by sound: Attempt to blend soft ingredients like yogurt. A failing latch produces rhythmic clunking as the shaft partially disengages then re-engages under load. Motor body replacement is the only fix—the latch isn’t user-replaceable. Units failing after light initial use often have latch defects.
Spot Gear System Wear (The Costly Culprit)
Identify gear failure through sound and resistance: Motor strains loudly while blades rotate weakly or jerk erratically. Remove the shaft and manually spin the blade assembly—it should turn freely with no grinding. Stiffness indicates worn plastic gears inside the motor housing.
Understand the repair reality: Gear replacement requires complete motor disassembly and specialized tools. For the CSB-75, professional service costs 70-90% of a new unit. Replace the entire blender unless under warranty—DIY gear swaps rarely last.
Blade and Shaft Damage: When Replacement Beats Repair
Physical damage creates unmistakable failure patterns. These visual inspections tell you whether to invest in parts or a new unit.
Blade Integrity Red Flags You Can’t Ignore

Examine blades under bright light after removing the shaft. Look for:
– Bent tines from processing frozen fruit or ice
– Chipped edges from hitting container bottoms
– Complete detachment at the plastic hub connection
Even minor blade damage drastically reduces cutting efficiency. Never use a blender with compromised blades—it strains the motor and creates inconsistent results. Replacement shaft assemblies cost $15-25, but warped shafts often accompany blade damage.
Make the Smart Repair vs. Replace Decision
Calculate the true cost: Replacement shafts cost 30-50% of a new CSB-75. If you also need motor body work (for latch failure), repairs exceed replacement value. Replace the entire unit when:
– You spot warping PLUS blade damage
– The motor shows previous overheating signs (burnt smell)
– The unit is over 18 months old (warranty typically expires at 24 months)
Warranty & Replacement Tactics That Actually Work
Don’t get trapped by retailer return windows—manufacturer warranties cover delayed-use gifts. These strategies maximize your options.
Bypass Retailer Return Limits for Christmas Gifts
Contact Cuisinart directly with model/serial numbers—warranty coverage starts from purchase date, not gift opening. Keep your receipt or gift receipt; online purchases require order confirmation. The CSB-75 carries a standard 2-year warranty covering:
– Motor body defects
– Gear failures
– Latch mechanism breaks
Demand warranty service even if:
– You’re the gift recipient (not original purchaser)
– The unit failed during second use (indicates manufacturing flaw)
– Retailer window has closed (manufacturer warranty still applies)
Know Exactly When to Replace vs. Repair
Replace the motor body immediately if:
– Thermal damage confirmed (no operation after 45-minute cooldown)
– Internal latch is visibly broken
– Electrical testing shows motor failure
Skip repairs and buy new when:
– Shaft shows warping from dishwasher use
– Blade damage exists with any other symptom
– Repair costs exceed $35 (50% of new unit price)
Prevent Future Failures: Proven Maintenance Hacks
Avoid repeat breakdowns with these field-tested habits used by professional kitchens.
Defeat Dishwasher Warping Permanently
Hand-wash attachments or use ONLY the top rack—never place the shaft assembly in the lower rack where heating elements concentrate. Remove attachments before the drying cycle starts; residual heat warps plastic even in “cool dry” settings. Store wet attachments upright to air-dry naturally.
Master Thermal Management for Longevity
Follow the 50/10 rule: Never run high-speed for more than 50 seconds. Allow 10 seconds of rest between blending bursts—even for soft ingredients. For thick mixtures like hummus, pulse in 30-second intervals. This prevents 90% of thermal shutdowns.
Store Like a Pro to Prevent Connection Failures
Store the motor body and shaft detached with both components dry. Never coil the power cord tightly—loose loops prevent internal wire breaks. Keep the unit in a cabinet where the cord won’t get pinched by heavy pots. Check assembly before every use—a 5-second lock verification prevents most “sudden failure” incidents.
Critical Diagnostic Checklist: 60-Second Triage
For total power failure:
1. Test outlet with phone charger (not just lamp)
2. Inspect cord every 2 inches for hidden breaks
3. Reattach shaft with firm twist until audible click
4. Wait 30+ minutes if high-speed used recently
For humming but no blending:
1. Confirm motor runs (place hand on body for vibration)
2. Check shaft connector for warping/melting
3. Spin blade assembly by hand—should move freely
4. Perform wiggle test for latch failure
When to replace:
– Warped shaft + blade damage = new unit
– Motor dead after 45-minute cooldown = new motor body
– Unit older than 18 months with multiple failures
Your Cuisinart hand blender’s symptoms are its diagnostic language. Complete silence screams electrical or assembly issues—often fixed in 5 minutes with proper shaft engagement. Motor hum with stalled blades reveals mechanical failures demanding part replacement. By respecting the 50-second thermal limit and hand-washing attachments, you’ll avoid 95% of these failures. When in doubt, remember: if your CSB-75 worked once but died on second use, reassembly is always the first fix. Stop troubleshooting blindly—apply these targeted solutions and reclaim your kitchen workflow today.


