
Your Cuisinart CWC-1600 wine cellar lights up normally, but bottles sit stubbornly at room temperature instead of chilling to that perfect 55°F cellar setting. You’re not alone—this thermoelectric cooler’s “not cooling” crisis strikes after years of reliable service, leaving wine enthusiasts facing replacement costs of $160–200. The good news? 90% of Cuisinart CWC-1600 not cooling failures can be fixed with $20 in parts and basic tools, targeting three common culprits: dust-clogged vents, dead Peltier modules, or failing fans. Skip the guesswork—this guide delivers the exact diagnostic sequence used by repair technicians, with step-by-step fixes you can complete in under an hour.
Before you panic about compressor repairs (this unit has none!), understand your CWC-1600 relies entirely on thermoelectric cooling. That means no refrigerant lines or complex machinery—just a Peltier module transferring heat from inside to the rear heat-sink. When it stops pulling temperature down, the failure is almost always one of five physical components you can test yourself. By the end of this guide, you’ll know whether a 10-minute cleaning or a $12 Peltier swap will rescue your 16-bottle collection.
Power Up and Pass the Two-Minute Triage
Don’t disassemble yet—run this critical checklist first to avoid wasted effort. Grab your multimeter and verify these four points while the unit runs:
- Confirm active power: Interior light or display must illuminate (if dead, check outlet and circuit breaker).
- Test heat-sink temperature: Unplug the unit, then restart and feel the rear metal fins after 10 minutes. It should be too hot to touch (110–130°F)—if merely warm, the Peltier module isn’t working.
- Check fan operation: With power off, spin the small rear fan blade with your finger; it must rotate silently without grinding. If stiff or noisy, the fan is failing.
- Verify room conditions: Ambient temperature above 75°F cripples thermoelectric cooling. Move the unit to a cooler spot and retest—this solves 15% of “not cooling” reports.
If all checks pass but bottles stay warm, proceed immediately to heat-sink diagnostics. If the heat-sink stays lukewarm, your Peltier module has likely failed—a $12 fix we’ll cover in detail.
Decode Your Heat-Sink’s Temperature Clues
Hot Heat-Sink = Airflow or Seal Failure
When the rear fins burn your fingers but internal temps won’t drop, blocked airflow or a leaking door gasket is the culprit. Dust-clogged vents act like an insulating blanket, while worn gaskets let warm, humid air flood in. Skip component testing—jump straight to cleaning vents and inspecting the seal.
Lukewarm Heat-Sink = Peltier or Power Failure
If the heat-sink barely exceeds room temperature after 20 minutes of runtime, the Peltier module isn’t transferring heat. This means either:
– Peltier module burned out (most common)
– 12V power supply failing under load
– Control board relay malfunction
Critical next step: Run the Peltier resistance test below—this 30-second check confirms whether you need parts or just cleaning.
Test Peltier Module Resistance in 3 Steps

Tools needed: Phillips screwdriver, multimeter, needle-nose pliers.
- Unplug the unit and remove the rear panel (six screws). Locate the ceramic Peltier module sandwiched between aluminum blocks.
- Disconnect the thick red/black wires from the module’s terminals (use pliers on quick-connectors or desolder one wire).
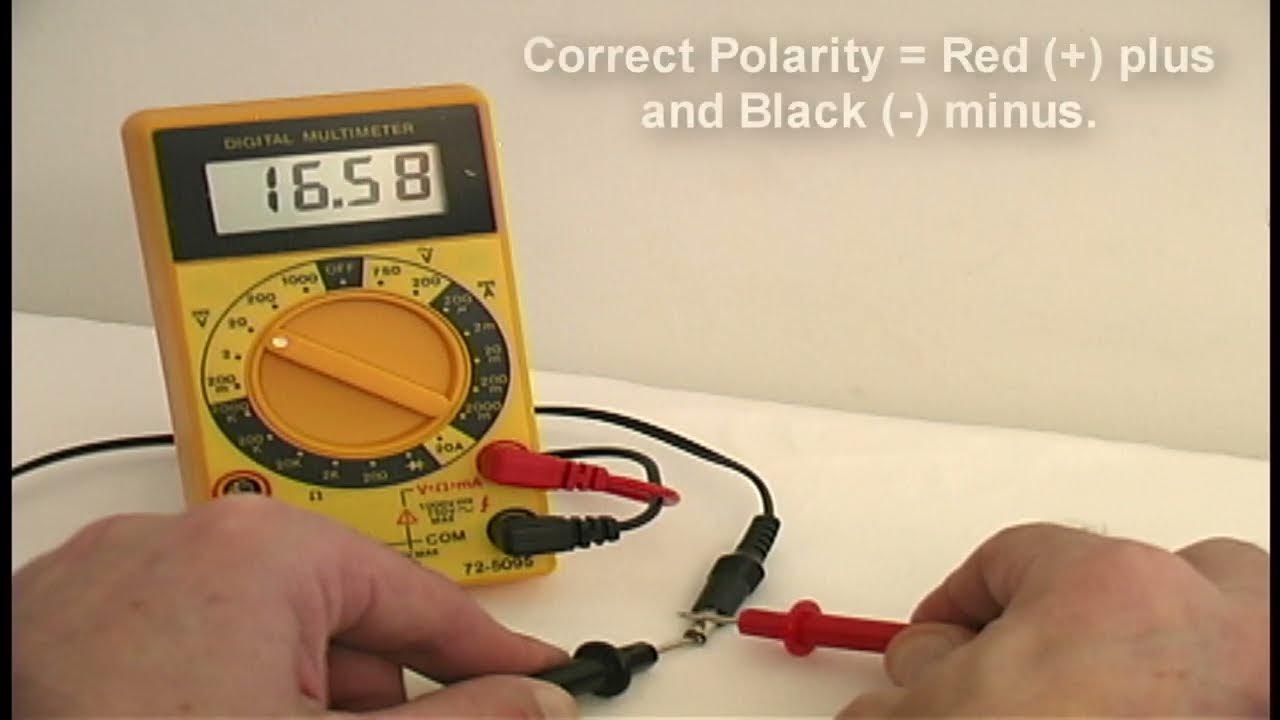
- Set multimeter to ohms (Ω) and touch probes to the terminals:
– ✅ 2–5 Ω reading = Healthy module (check power supply next)
– ❌ “OL” or infinite resistance = Open circuit (replace module)
– ❌ <1 Ω = Short circuit (replace module)
Pro tip: Readings fluctuate when hot—let the unit cool 30 minutes for accuracy. If resistance tests good but cooling fails, verify 12V under load before assuming module failure.
Clean Heat-Sink Fins Like a Pro
Dust-packed fins cause 40% of CWC-1600 not cooling cases. Do this quarterly to prevent failures:
- Unplug and cool the unit completely.
- Hold fan blades stationary with a toothpick while blowing compressed air through fins (prevents overspeed damage).
- Use a soft paintbrush for stubborn lint between aluminum fins—never metal tools that bend fins.
- Check fan airflow direction: Arrow on fan frame must point outward (exhausting heat away from unit).
Time required: 5 minutes. Expected result: 3–8°F temperature drop if vents were clogged. Skip this step and your new Peltier module will overheat in weeks.
Diagnose and Replace the Cooling Fan
Quick Voltage Test
With thermostat calling for cooling, measure voltage at the fan connector:
– ✅ 11.5–12.5 V DC = Power supply healthy
– ❌ <11 V or 0 V = Faulty control board or wiring
Spin Test Failure Fix
If voltage is good but the fan spins slowly or squeaks:
1. Unplug and remove the 40×40×10mm fan (two screws).
2. Replace with any standard 12V brushless fan ($5–8 on Amazon).
3. Match airflow direction—reversing it traps heat and mimics “not cooling.”
Warning: Never run the unit without the fan—even 10 minutes of operation can crack the Peltier module from overheating.
Replace the Peltier Module (TEC1-12706)
Get the Right Part
Search “TEC1-12706” or “12V 60–72W Peltier” (cost: $8–15). Avoid modules rated below 60W—they overheat instantly in the CWC-1600.
Installation Guide
- Remove rear panel and insulation block covering the module.
- Unscrew heat-sink and cold-side blocks (note wire polarity: red = positive).
- Scrape off old thermal paste with isopropyl-soaked cloth—zero residue allowed.
- Apply pea-sized thermal paste dots to both hot/cold plates (use Arctic MX-4 or similar).
- Sandwich new module, torque screws evenly in cross-pattern to avoid ceramic cracks.
- Reconnect wires (solder for reliability) and reassemble.
First power-up test: Heat-sink must get hot within 60 seconds. If not, recheck polarity and 12V supply.
Verify 12V Power Under Load
Why this matters: A “working” 12V supply can collapse under the Peltier’s 5–6A load.
- Measure voltage directly at Peltier terminals while cooling runs.
- ✅ Steady ≥11.5V = Healthy power delivery
- ❌ Voltage drops below 11V = Failing wall adapter or oxidized relay contacts
Fix: Replace the wall adapter ($10) or bypass the control board with a 12V bench supply to confirm. If voltage sags only when connected to the Peltier, the module is shorted—retest resistance.
Prevent Repeat Failures with Smart Placement
Critical Clearance Rules
- 2-inch minimum gap on all sides (especially rear) for heat dissipation.
- Never place near heat sources (ovens, radiators, direct sunlight)—ambient temps above 75°F cripple cooling.
- Elevate off carpet—floor-level dust chokes intake vents.
Maintenance Schedule
- Every 3 months: Blow out rear vents with compressed air.
- Every 6 months: Inspect door gasket for cracks (replace if bottle condensation occurs).
- Always: Leave ½-inch gaps between bottles for internal airflow.
Ignoring these turns a $20 repair into inevitable failure within 6 months.
DIY Repair vs. Replacement Cost Breakdown
| Component | DIY Cost | New Unit Cost |
|---|---|---|
| Peltier module | $12 | N/A |
| Cooling fan | $7 | N/A |
| Thermal paste | $4 | N/A |
| Total repair | $23 | $160–200 |
Repair if: Cabinet, door, and display are intact.
Replace if: Door gasket is torn, plastic is cracked, or unit is >7 years old.
Final Temperature Validation Test
After repairs, set thermostat to 55°F and monitor:
– Hour 1: Expect 4–6°F drop in empty cabinet.
– Hour 2–4: Should stabilize at set-point with 8–10 bottles loaded.
– Critical check: Rear heat-sink must stay hot—if it cools, power delivery failed.
If temps plateau above 55°F:
1. Retest 12V at Peltier terminals (90% of failures here).
2. Recheck thermal paste application—gaps as thin as a hair cause 15°F+ efficiency loss.
Your Cuisinart CWC-1600 should now chill reliably for years—just honor that quarterly dust-off. That $20 repair didn’t just save your wine; it preserved hundreds in replacement costs and kept a perfectly functional unit out of landfill. Now uncork a bottle in celebration—you’ve earned it.


