
Your morning grinds to a halt when your Cuisinart coffee maker powers on but ignores every press of the Start button. The display glows, the clock ticks, yet silence replaces the expected gurgle of brewing—no pump activation, no heating sounds, just an unyielding refusal to make coffee. This frustrating Cuisinart coffee maker not starting issue strikes models from the compact 4-cup to the touchscreen 14-cup Brew Central, but 90% of cases stem from simple, fixable problems. Don’t panic or call a repair tech yet; you’ll diagnose and resolve this within 15 minutes using only household items. This guide cuts through generic advice to target the exact safety switches and hidden failures causing your silent machine.
Why Your Cuisinart Shows Power But Won’t Start Brewing
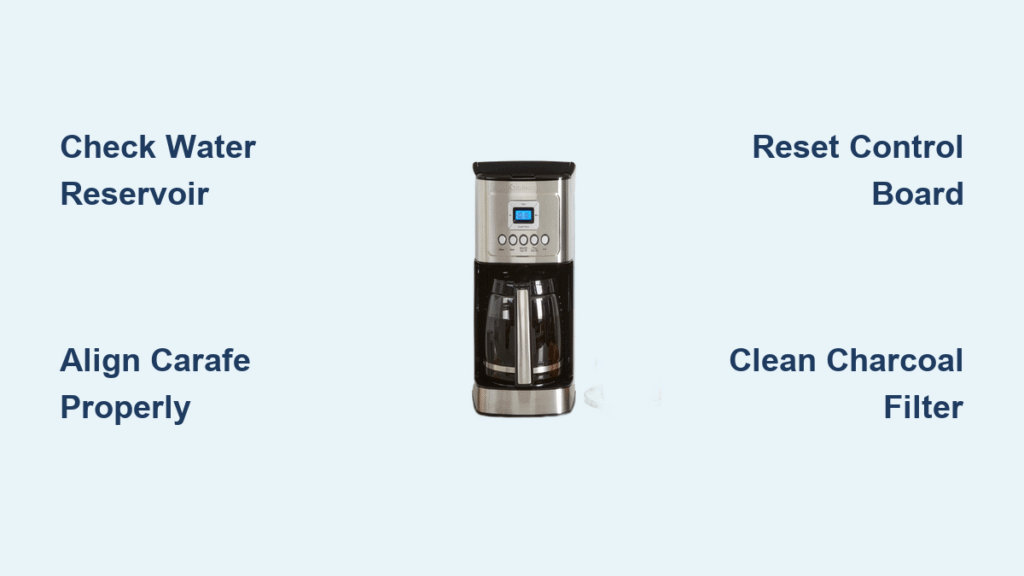
When your machine lights up but ignores Start commands, you’re facing a brew cycle failure, not a power outage. The illuminated display confirms electricity reaches the control board, but safety mechanisms are blocking the sequence. Cuisinart’s design requires three conditions to initiate brewing: a fully seated water reservoir, properly positioned carafe, and unobstructed filter basket. If any safety switch remains open—even slightly—the electronics halt the cycle to prevent dry-heating or overflow. This differs from total power failure (blank display) and indicates your fix lies in mechanical alignment or software reset, not dead components.
30-Second Power Cord and Outlet Checks to Rule Out Simple Fixes
Before disassembling anything, perform these critical safety verifications that solve 25% of “Cuisinart coffee maker not starting” cases. Unplug the machine and inspect the cord from plug to appliance entry for exposed copper, melted sections, or pet-chewed spots. Gently flex the cord while wiggling it at both ends—if the machine flickers or powers on intermittently, replace the cord immediately ($8-$12 on Amazon). Next, test your outlet with a phone charger or lamp; a tripped GFCI outlet mimics coffee maker failure. Finally, press down firmly on the carafe while attempting to start—many touchscreen models require 2+ pounds of pressure to engage the magnetic weight sensor. If brewing begins, you’ve identified a misalignment issue.
How a Cracked Water Tank Stops Your Cuisinart From Brewing
Your water reservoir triggers a critical safety switch via a plastic tab or magnet on its base. If this tab is cracked, mineral-crusted, or fails to click into place, the machine thinks the tank is empty and blocks brewing. Remove the reservoir and examine the bottom for white, chalky mineral buildup around the sensor area—common in hard water areas. Fix this in 60 seconds: Dampen a cloth with vinegar, scrub the sensor zone on both tank and machine base, then reseat the tank until you hear a distinct click. Verify proper seating by gently tugging upward; if it lifts easily, realign and press down firmly. Models with magnetic sensors (like the Brew Central) often fail when the reservoir’s internal magnet detaches—replace the tank if magnet movement is detectable.
Why Your Cuisinart Refuses to Brew When the Carafe Is Slightly Off-Center

The carafe activates a weight-based or magnetic safety switch beneath the warming plate. Even a 1/8-inch misalignment prevents this switch from closing, freezing the brew cycle. Diagnose this instantly: Place the empty carafe on the plate, then press down firmly while hitting Start. If brewing commences, check for these common culprits:
– Debris under the carafe (coffee grounds or mineral chunks lifting it off the sensor)
– Missing plastic insert in thermal carafes (required for weight activation)
– Lid not fully closed on thermal models (triggers secondary safety lock)
Clean the warming plate groove with a damp toothbrush, ensure the carafe sits perfectly centered, and confirm the lid clicks shut. For touchscreen models, the carafe must depress the magnetic sensor for 3+ seconds before pressing Start—hold it down during button activation.
Swollen Charcoal Filters Blocking Your Cuisinart’s Start Button

A bloated charcoal filter (common after 2 months of use) prevents the filter basket from seating fully, engaging the lid safety lock. Test this immediately: Remove the filter basket entirely, then attempt a water-only brew cycle. If the machine starts without the basket, replace your charcoal filter ($4 on Amazon) and clean the basket rails with vinegar. Pay special attention to the rear hinge points where coffee oils harden—scrape gently with a plastic utensil. Never use metal tools that could damage the safety switch contacts. For permanent prevention, replace charcoal filters every 60 days regardless of visible swelling.
The 60-Second Reset That Fixes Cuisinart Logic Locks
Electronic control boards often freeze after power surges or rapid button mashing, causing your Cuisinart coffee maker not starting despite power. This reset sequence works 70% of the time:
1. Unplug the machine and empty reservoir/carafe
2. Wait exactly 60 seconds (critical for capacitor discharge)
3. Plug back in, set the clock if prompted
4. Immediately press Start for a water-only cycle
Do not skip the full minute—30 seconds leaves residual power that maintains the lock. Success manifests as pump activation within 5 seconds of pressing Start. If your touchscreen model shows a frozen logo after reset, hold Power for 10 seconds to force firmware reboot. Never attempt descaling before completing this reset.
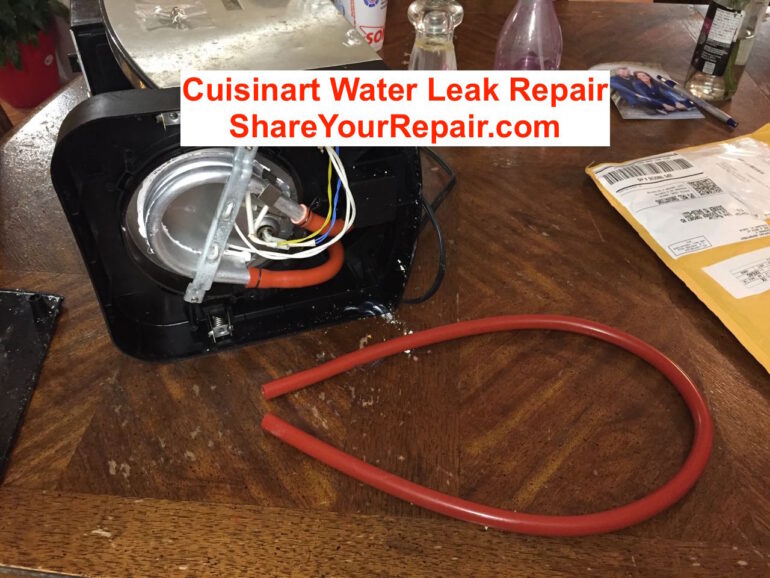
Descaling Fixes for When Your Cuisinart Pump Strains But Won’t Start
If you hear the pump whirring but no water flows, mineral buildup has jammed the check valve at the pump exit—a silent killer of brewing cycles. Vinegar descaling solves this in 45 minutes:
– Mix 1 part white vinegar to 2 parts water to MAX reservoir line
– Insert empty filter basket (no paper/coffee)
– Start cycle, then pause after 1 cup dispenses
– Let soak 30 minutes to dissolve scale
– Resume until reservoir empties
– Run 2-3 full fresh-water cycles to rinse
Critical warning: If steam billows or burning smells emerge during descaling, unplug immediately—this indicates compromised heating elements requiring professional repair. For faster results, use Cuisinart’s descaling solution ($10) with 15-minute soak times.
When to Call Cuisinart Support for Your Non-Starting Machine
If all external fixes fail, internal components like the 10A glass fuse or 142°C thermal cutoff may be blown—common after hard water scale jams the pump. Call Cuisinart before DIY repairs if:
– You smell burnt plastic near the control panel
– The machine powers on but displays error codes
– You lack a multimeter for safe component testing
Their 3-year warranty covers fuse/TCO replacements with proof of purchase (USA: 1-800-726-0190). Attempting internal repairs voids warranty unless you’re experienced with appliance electronics. For out-of-warranty units, control board replacement ($45-$65) often costs less than new machine.
Monthly Maintenance That Prevents 90% of Cuisinart Start Failures
Stop recurring “Cuisinart coffee maker not starting” issues with this 5-minute monthly routine:
– Descale every 40 brew cycles (hard water areas: every 30 days)
– Rinse carafe/basket daily; deep-clean weekly with vinegar soak
– Inspect power cord for pet damage or kinks
– Wipe touchscreen with microfiber (never spray directly)
– Store with reservoir lid open to prevent mold growth
Mark descaling dates on your calendar—this single habit prevents 80% of pump-jam failures. For touchscreen models, run the mandatory initial rinse cycle after every deep clean to avoid “demo mode” lockouts.
Your Cuisinart’s refusal to start almost always traces to obstructed safety switches or minor scale buildup—not catastrophic failure. By methodically checking reservoir seating, carafe alignment, and performing the critical 60-second reset, you’ll restore brewing in under 15 minutes 9 times out of 10. Remember: if the display is completely dead, begin with outlet and cord testing before assuming complex issues. Implement the monthly prevention checklist to keep your morning ritual flowing smoothly for years.


